This is the fastest way to validate your Coreflux setup: in under 15 minutes you’ll have a live LoT (Language of Things) Action running inside your broker—proof that your installation works and logic executes at the edge. New to Coreflux? Start with the Overview.
Like installing an app on your router instead of your phone. LoT Actions run directly inside the broker — your logic executes at the edge without an external script or server.
Concept Refresher: You are about to write an action that lives and runs inside the broker, not on your laptop.
Let’s create a simulated temperature sensor that publishes a temperature reading every 5 seconds. You’ll see data on a topic as soon as you deploy—no external input required. This keeps the whole guide in a single “temperature monitoring” flow.
If you have the Coreflux HUB running—via Docker Compose or the standalone desktop app for Windows or Linux—you can deploy actions directly from the HUB. See Installation and the Coreflux HUB Overview.
1
Open the HUB
In your browser, open http://localhost:3000 for Docker Compose. Click New Connection and set Host to broker (Protocolmqtt://, Port1883). For the standalone desktop app, run the executable and create a connection to your broker.
2
Go to LoT Editor
Select LoT Editor in the HUB dock. In the WORKSPACE section of the sidebar, click + New to create a project, then add a + Code cell to its notebook. See LoT Editor for the full editor reference.
3
Paste the Action Code
Paste the following code into the cell (no -addAction prefix needed—the HUB handles registration):
DEFINE ACTION TemperatureSimulatorON EVERY 5 SECONDS DO PUBLISH TOPIC "sensors/zone1/temperature" WITH "{\"temperature\": 72}"
4
Run the cell
Click the cell’s run button (or press Shift+Enter) to deploy it. The cell’s badge changes to SYNCED and the Action appears under Broker → Entities → Actions — it is now running on the broker.
The VS Code extension provides syntax highlighting, auto-completion, and real-time validation for LoT actions. See the LoT Notebooks Setup Guide for full installation and configuration details.
1
Ensure you have the LoT Notebooks extension installed
Open the extension panel, search for ‘LoT Notebooks’, and install.
2
Create a new LoT Notebook file
Click on File > New File…, give it it to a descriptive name (e.g., temperature-monitor).
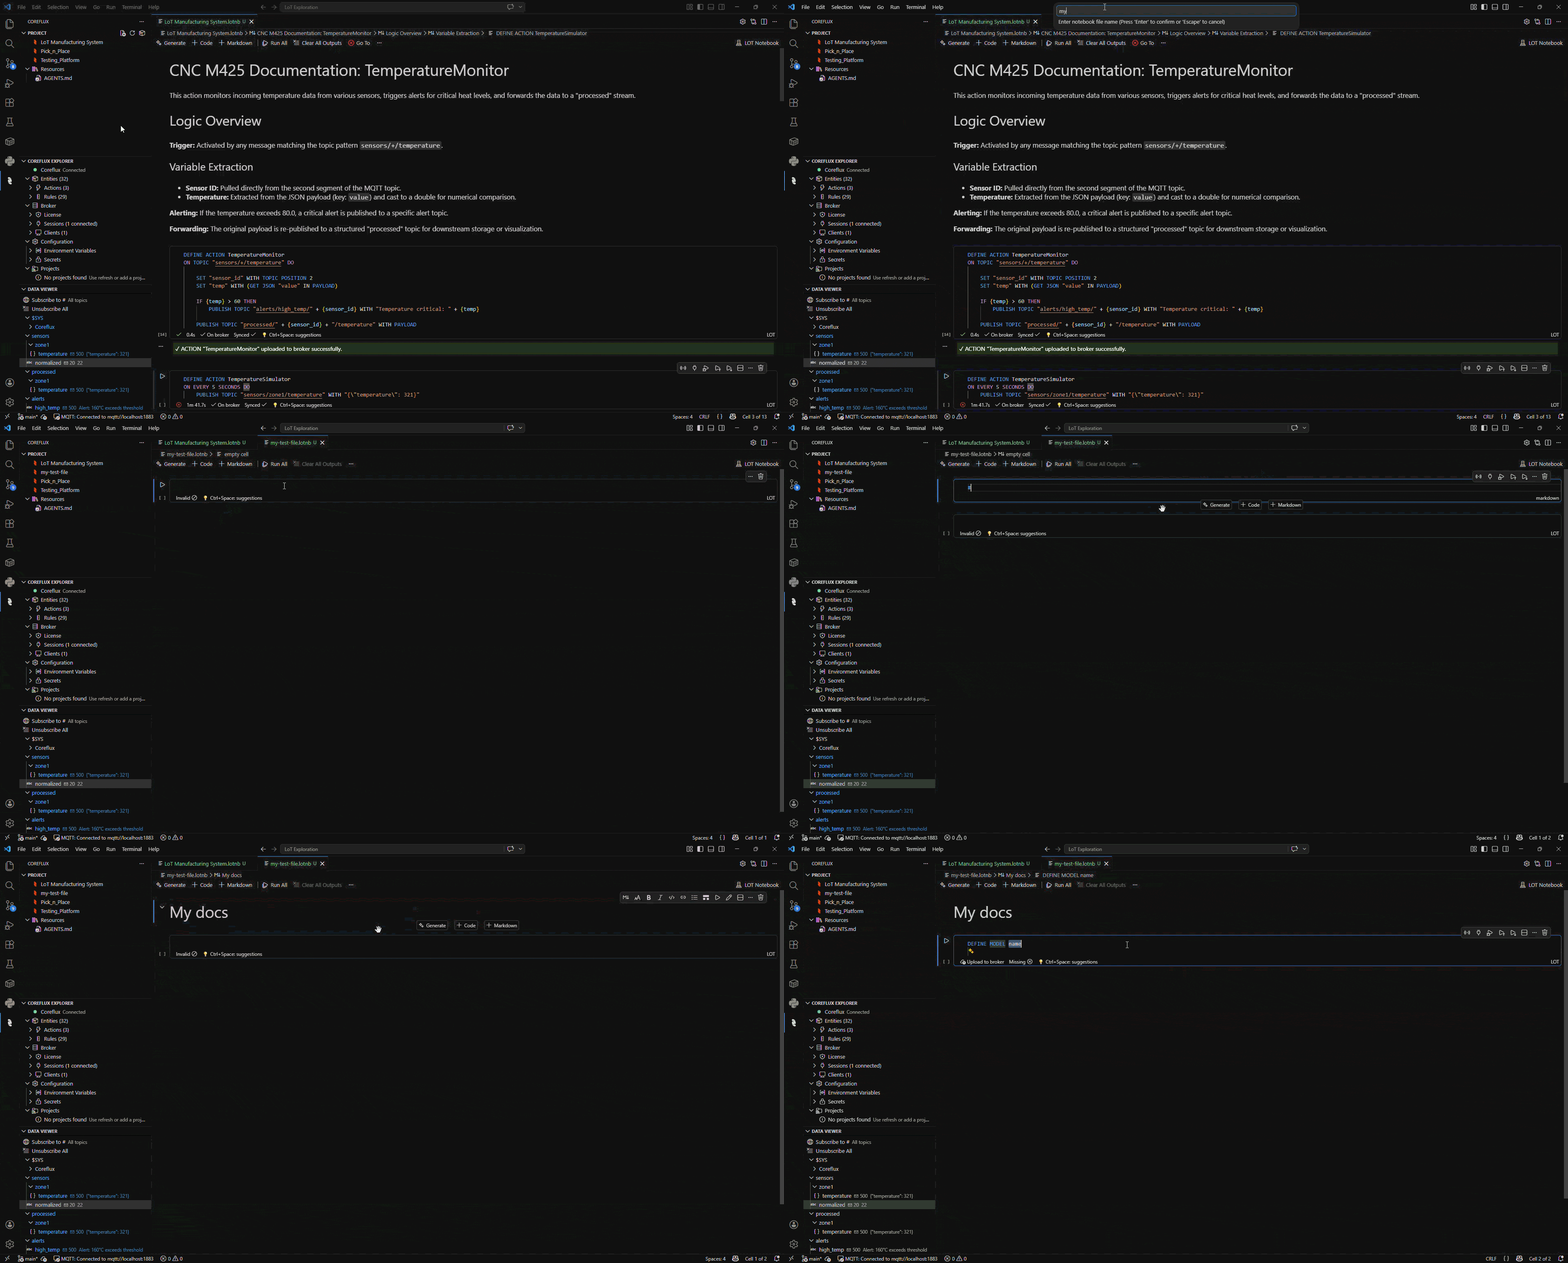
Creating a new LoT Notebook file in VS Code
3
Connect to Your Broker
Enter your broker credentials (host, port, username, password) and click Connect.
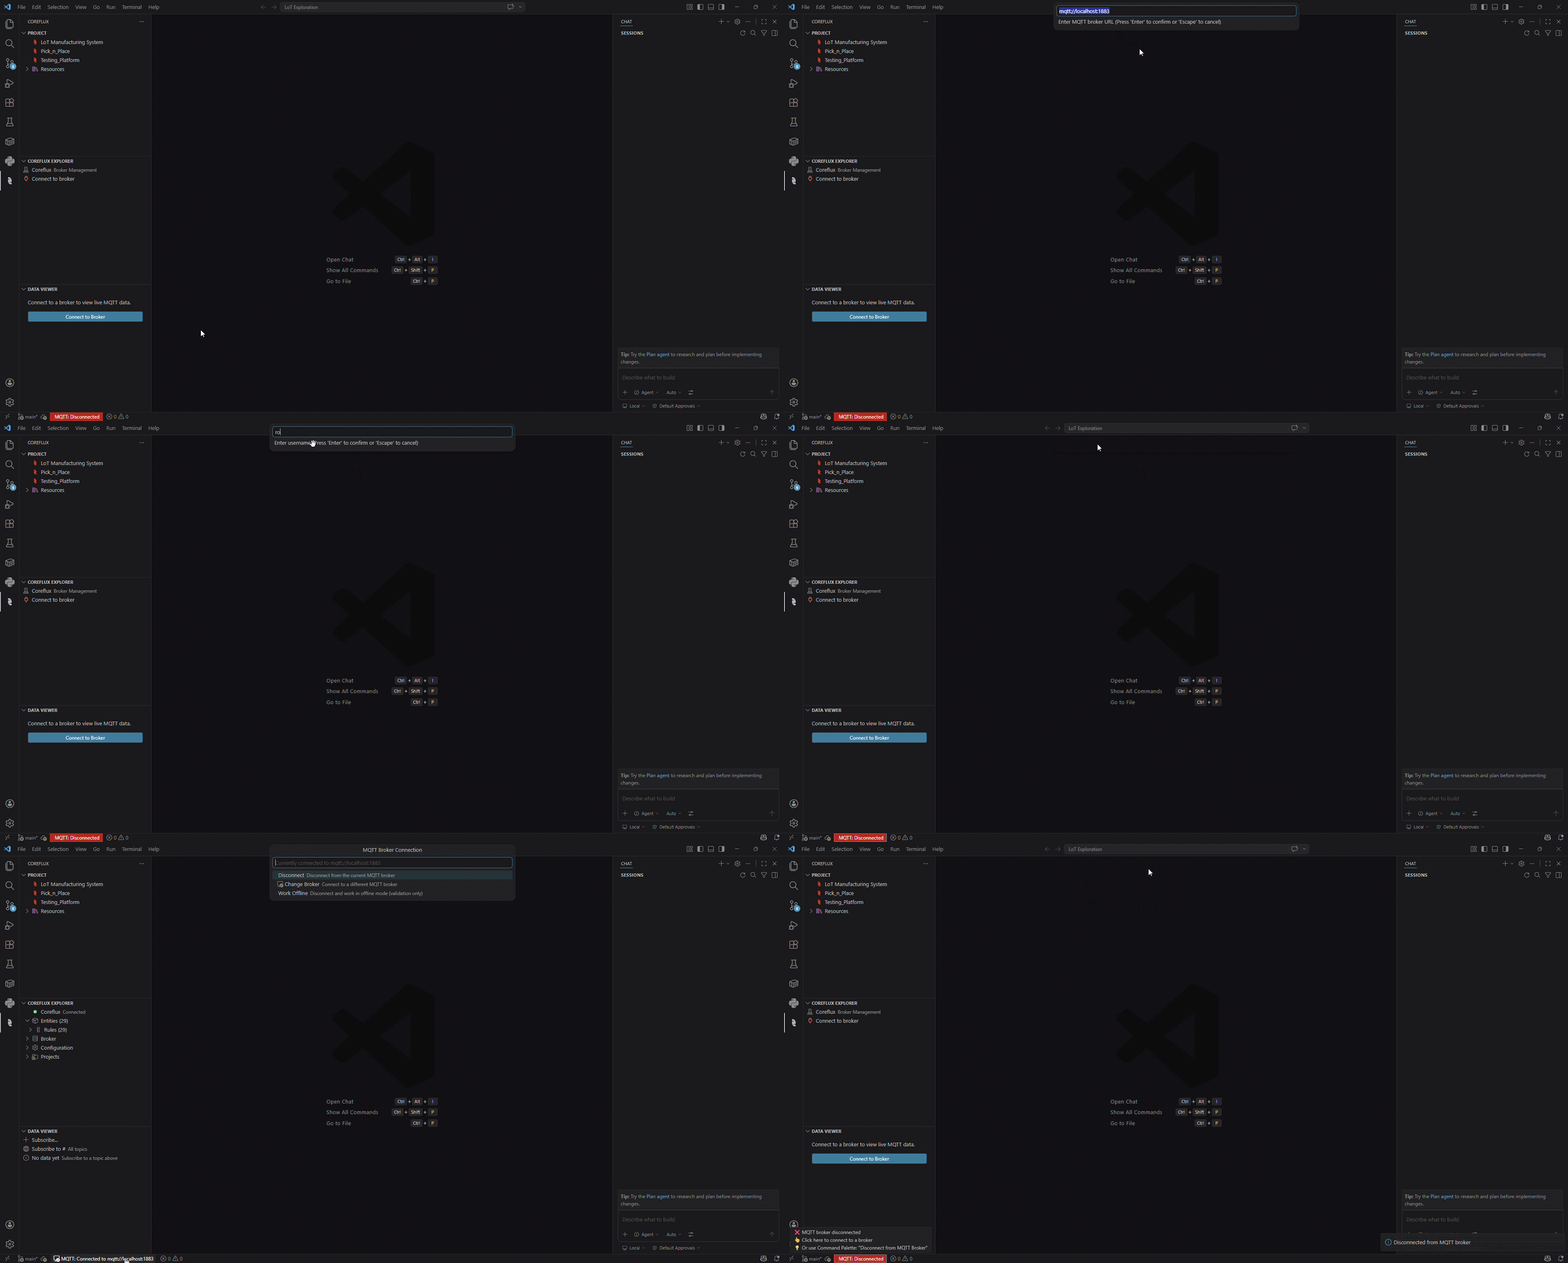
Connecting to your Coreflux broker from VS Code
Default Broker Credentials
If you haven’t changed your broker credentials, use these defaults:
Setting
Value
Host
localhost or your server IP
Port
1883 (unencrypted) / 8883 (TLS)
Username
root
Password
coreflux (change immediately!)
4
Create a New Action
Create a new code block and add your code.
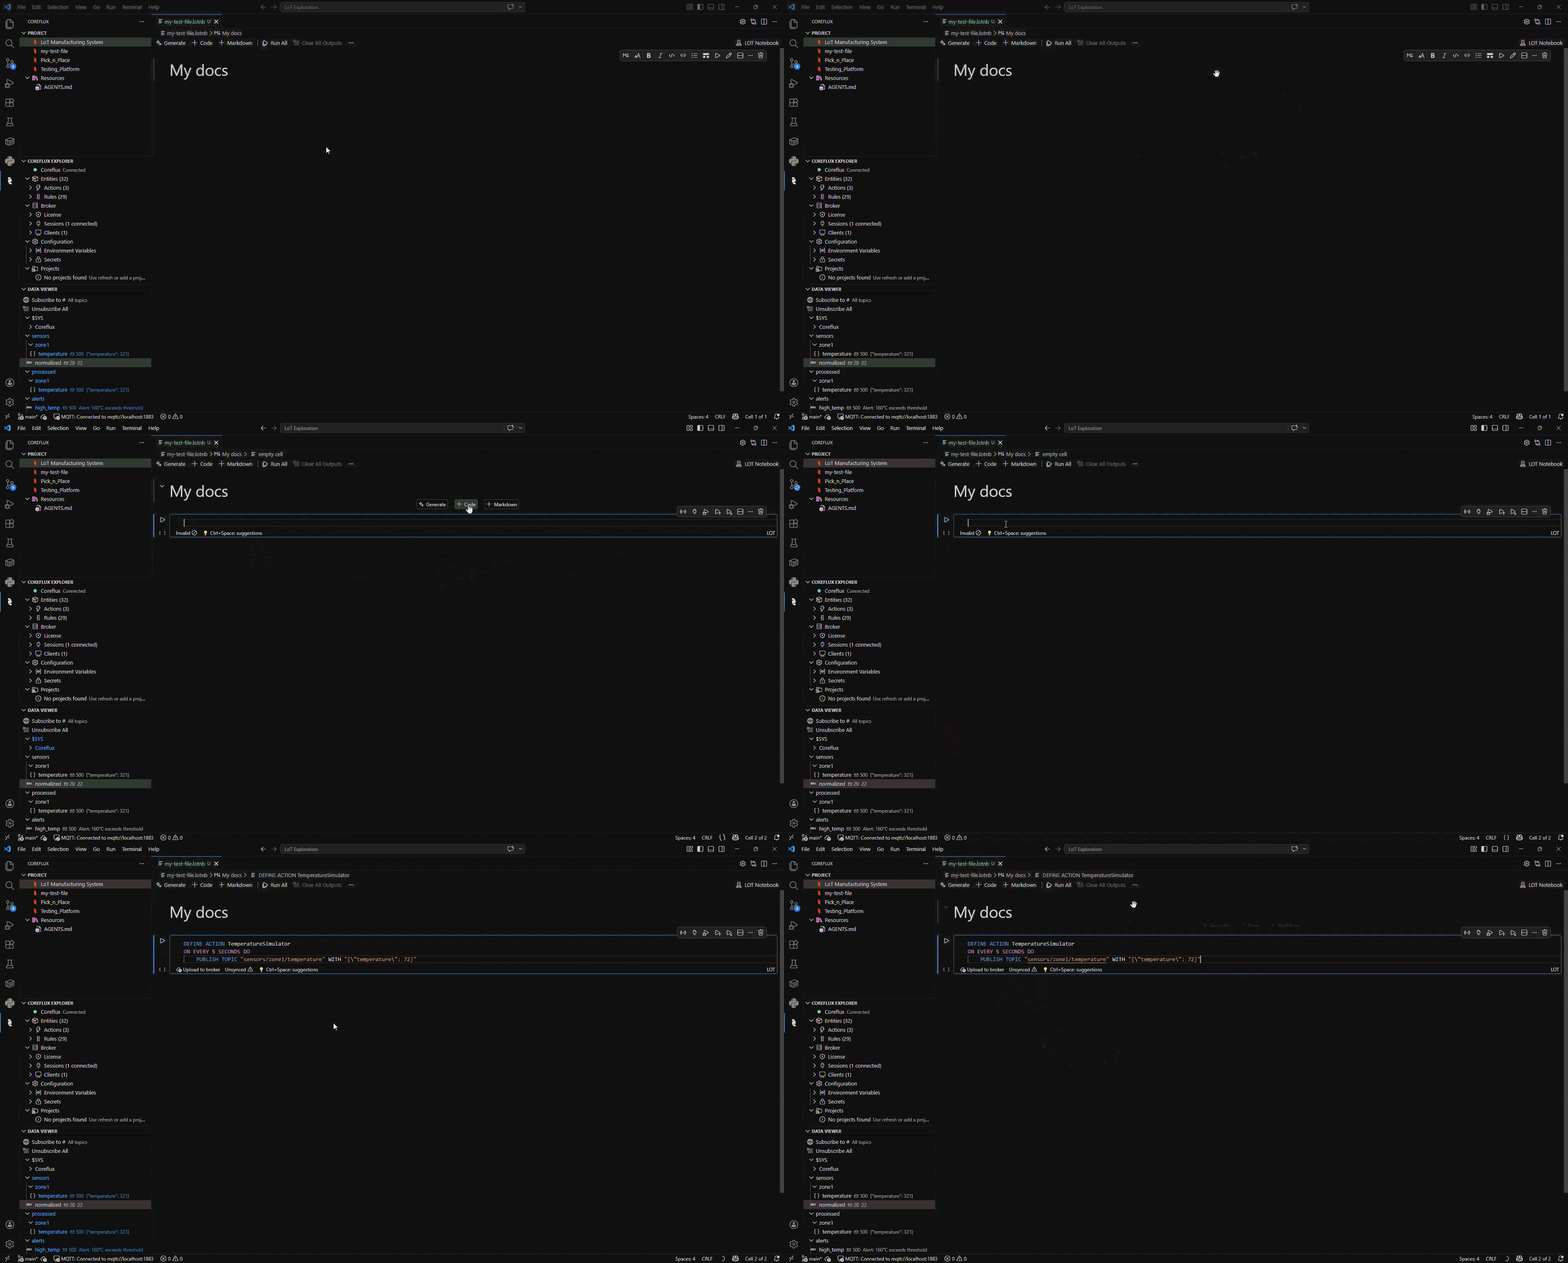
Creating a new LoT code cell in the notebook
5
Paste the Action Code
DEFINE ACTION TemperatureSimulatorON EVERY 5 SECONDS DO PUBLISH TOPIC "sensors/zone1/temperature" WITH "{\"temperature\": 72}"
6
Deploy
Click the Run Button on that specific cell to publish the action to your broker.
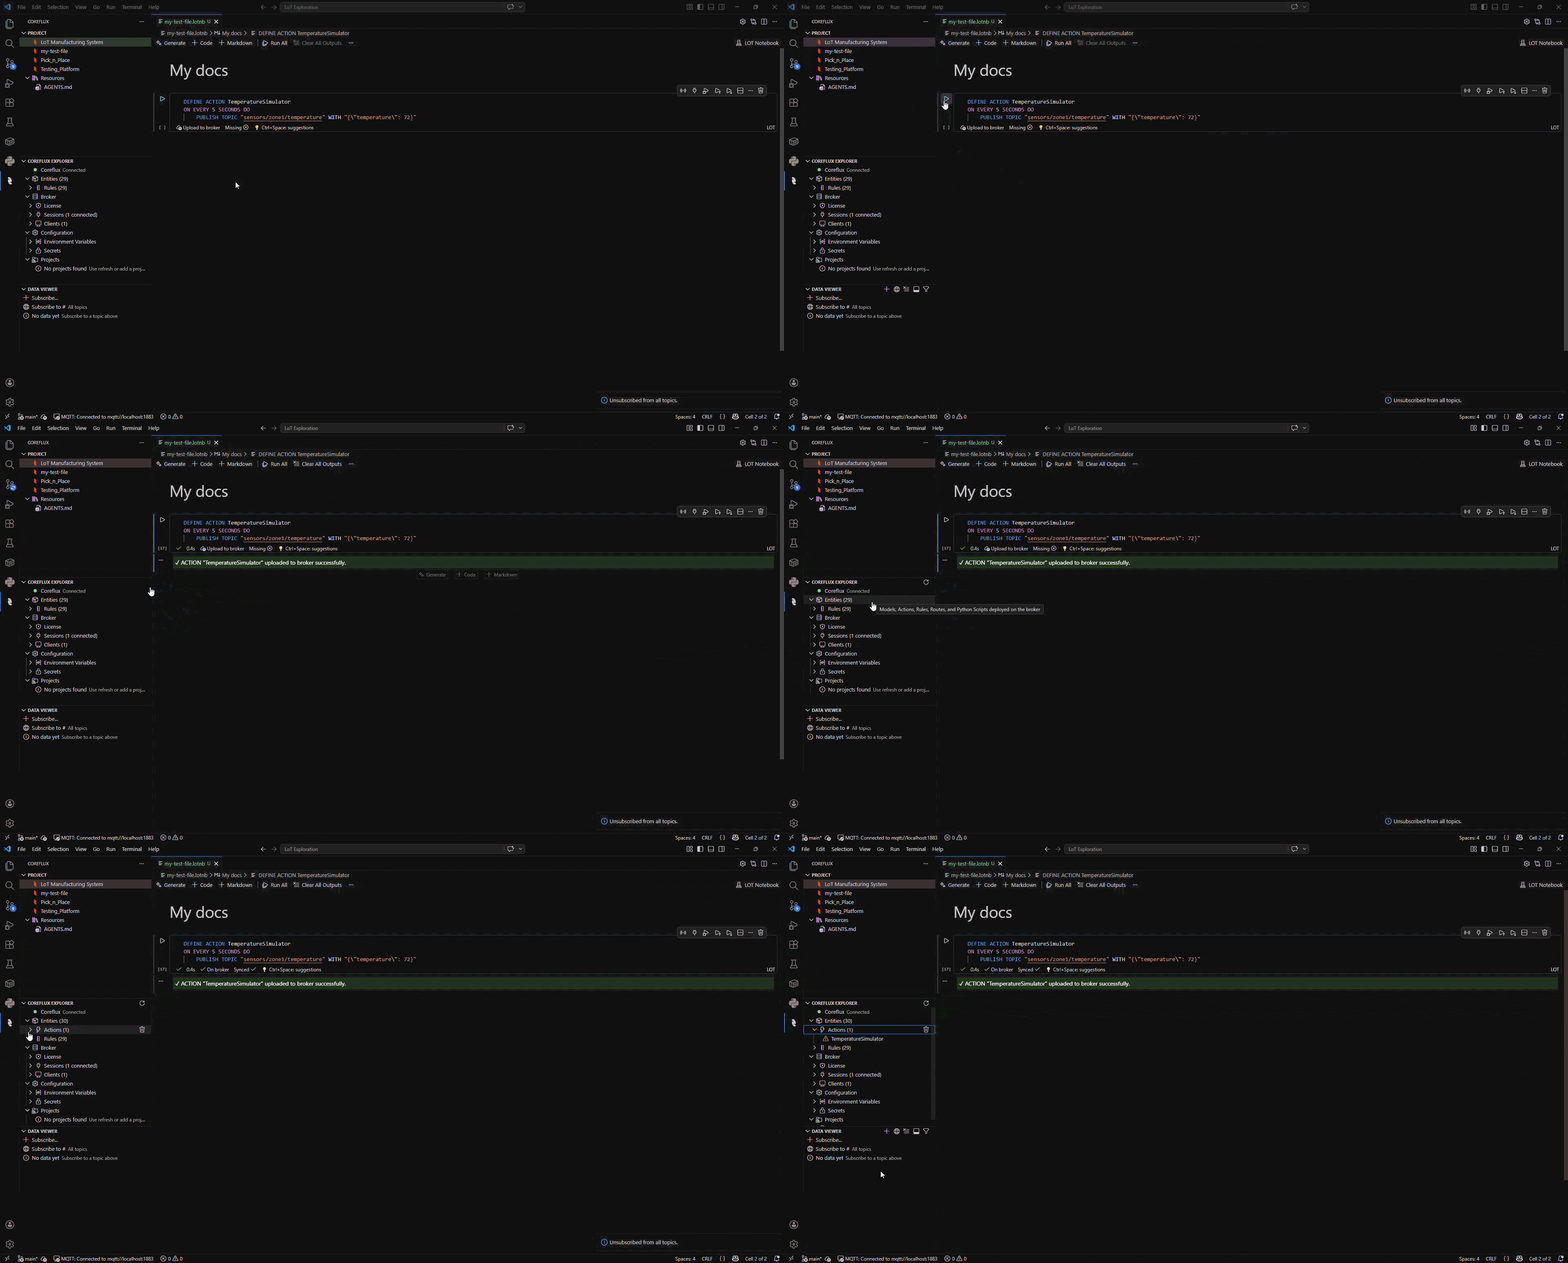
Running the LoT action from the notebook cell
If you’re using any external MQTT client, publish to the system command topic:
1
Connect
Connect to your broker with your credentials.
2
Publish the Action
Publish the following to $SYS/Coreflux/Command:
-addAction DEFINE ACTION TemperatureSimulatorON EVERY 5 SECONDS DO PUBLISH TOPIC "sensors/zone1/temperature" WITH "{\"temperature\": 72}"
3
Check the Response
Subscribe to $SYS/Coreflux/Command/Output. A successful deploy looks like:
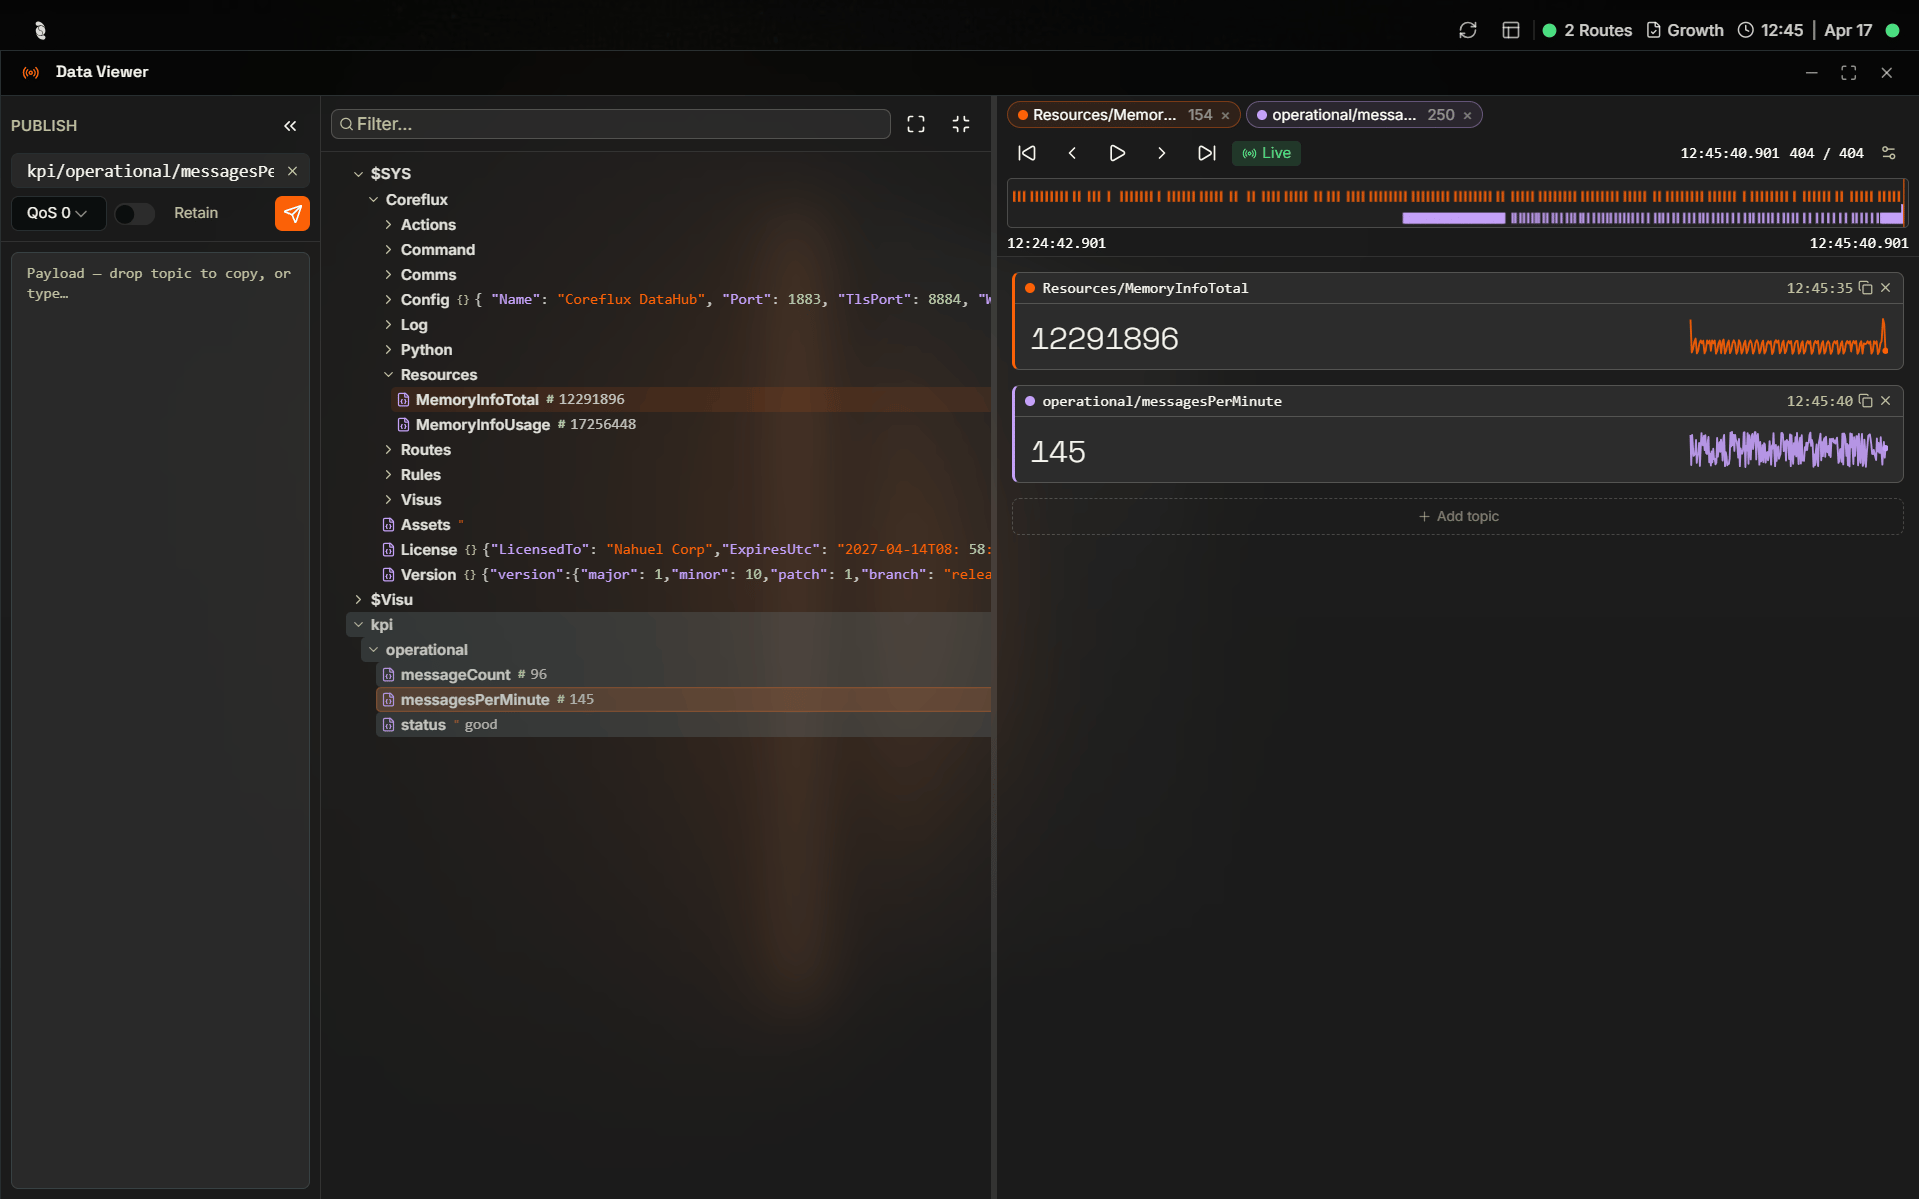
If you deployed via the HUB, verify using the built-in Data Viewer. In the top navigation, select MQTT, then Data Viewer. In the Topic Tree, navigate to sensors → zone1 → temperature. You should see {"temperature": 72} arriving every 5 seconds in the payload viewer.
Data Viewer showing live temperature messages on sensors/zone1/temperature
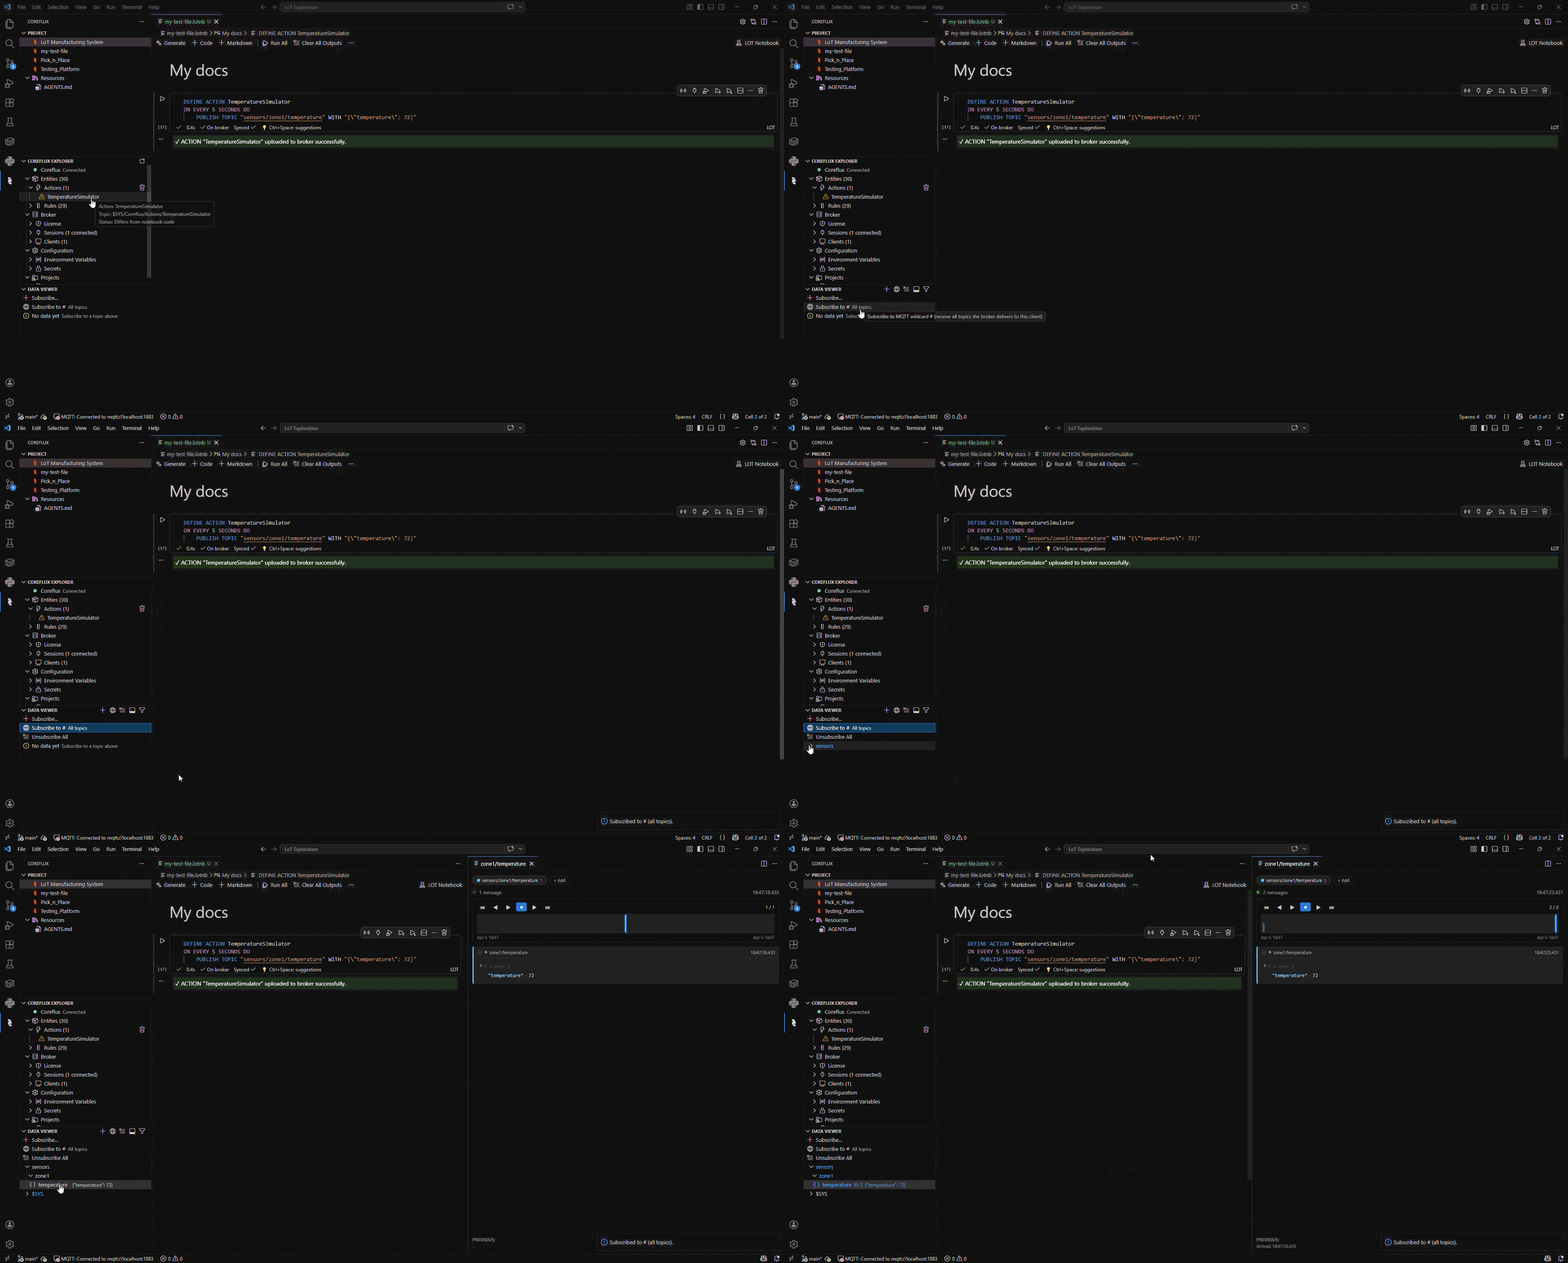
The LoT extension automatically shows debug values for MQTT topics, so you can verify in two ways:
1
Check the Actions list
If the action appears in your Actions list under the Coreflux Entities tab, it should be running.
2
Check live values in the extension
After deploying, the extension automatically subscribes to the action’s topics and displays live MQTT messages. You should see temperature readings (e.g. {"temperature": 72}) on sensors/zone1/temperature arriving every 5 seconds.
TemperatureSimulator action listed in the Coreflux Entities panel
Subscribe to sensors/zone1/temperature. You should see temperature readings arriving every 5 seconds:
Now let’s create a reactive action that transforms sensor data and checks thresholds. This demonstrates data transformation and conditional logic—common patterns in industrial monitoring.
This action runs only when a message arrives on sensors/+/temperature. After you deploy it, you will see no output until something publishes to that topic—for example, the Temperature Simulator from the previous section (if both are running), or a manual publish from the HUB Data Viewer or any MQTT client.
Here’s what the action does each time a new temperature reading arrives:
Trigger — The action fires whenever a message is published to any topic matching sensors/+/temperature (e.g. sensors/zone1/temperature).
Extract — It reads the temperature value (in Fahrenheit) from the incoming JSON payload.
Convert — It transforms Fahrenheit to Celsius using the standard formula: (F − 32) × 5 / 9.
Decide — If the Celsius value exceeds 35 °C, it publishes an alert to alerts/high_temp. Otherwise, it publishes the normalized Celsius reading to sensors/normalized.
DEFINE ACTION TemperatureAlarmON TOPIC "sensors/+/temperature" DO SET "temp_f" WITH (GET JSON "temperature" IN PAYLOAD AS DOUBLE) SET "temp_c" WITH (({temp_f} - 32) * 5 / 9) IF {temp_c} > 35 THEN PUBLISH TOPIC "alerts/high_temp" WITH ("Alert: " + {temp_c} + "°C exceeds threshold") ELSE PUBLISH TOPIC "sensors/normalized" WITH {temp_c}
The {} denotes variable substitution, and expressions must be wrapped in parentheses. The + in the topic pattern is a single-level MQTT wildcard — it matches any value in that position (e.g. sensors/zone1/temperature, sensors/zone2/temperature).
Deploy this action using the same method as above (Coreflux HUB, VS Code extension, or MQTT client). Once deployed, use the steps below to verify reactive logic.
The action subscribes to any topic matching sensors/+/temperature (e.g. sensors/zone1/temperature). It expects a JSON payload with a temperature key (Fahrenheit). It then converts to Celsius and either publishes an alert (if > 35°C) or the normalized value.
Role
Topic
Description
Input
sensors/zone1/temperature
Publish test payloads here (must match sensors/+/temperature)
Output (normal)
sensors/normalized
Receives the Celsius value when temperature is at or below 35°C
Output (alert)
alerts/high_temp
Receives the alert message when temperature exceeds 35°C (e.g. 95°F)
Sample payloads (copy-paste):
Below threshold — publish to sensors/zone1/temperature:
{"temperature": 77}
Expect: a message on sensors/normalized with the Celsius value (about 25).
Above threshold — publish to sensors/zone1/temperature:
{"temperature": 95}
Expect: a message on alerts/high_temp with text like “Alert: 35°C exceeds threshold”.
Coreflux HUB
VS Code Extension
MQTT Client
1
Deploy the Temperature Alarm action
In LoT → LoT Editor → Actions, create a new action or open an existing one, paste the Temperature Alarm code, and save. Confirm it appears in the Actions list.
2
Open the Data Viewer
Select MQTT → Data Viewer. In the Topic Tree, watch sensors/normalized and alerts/high_temp (add them to your tracked view if needed).
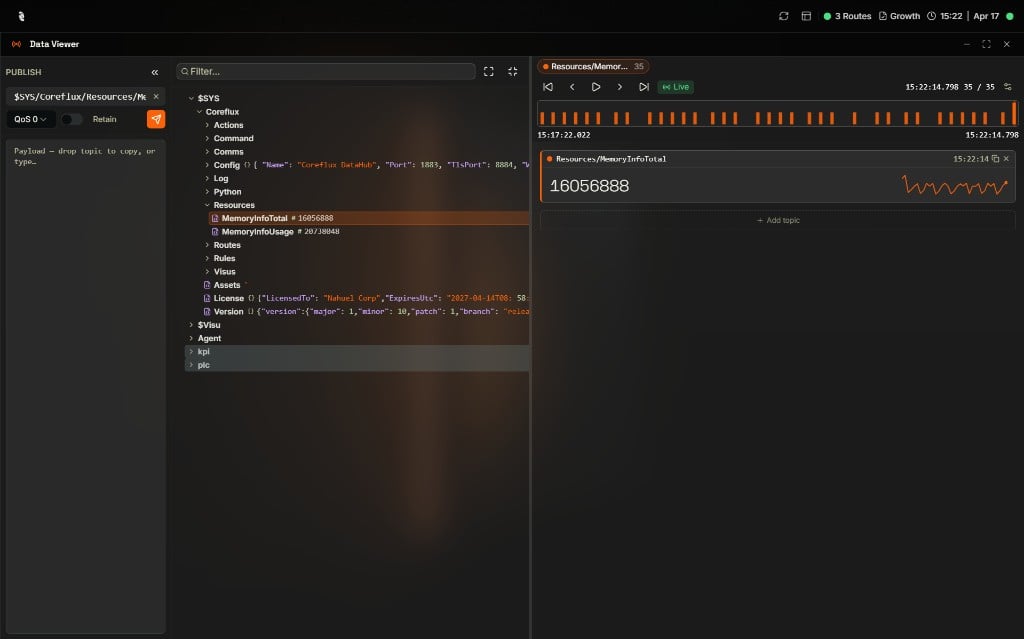
Coreflux HUB Data Viewer — Publish panel, Topic Tree, and live topic details
3
Send test data
In the Publish panel, set the topic to sensors/zone1/temperature and paste one of the sample JSON payloads above. Click publish. If the Temperature Simulator is still running, it already publishes every 5 seconds—you will see results on sensors/normalized (72°F is below 35°C).
4
Confirm output
Select the output topic in the tree and verify the payload in the viewer (normalized value or alert text).
1
Deploy the Temperature Alarm action
Paste the action code in a LoT cell and run it. Confirm success in the Actions list.
2
Observe output topics
After deploying, the extension automatically subscribes to the action’s output topics and displays their values. Look for messages on sensors/normalized and alerts/high_temp once test data is published.
3
Send test data
Use the HUB Data Viewer, the VS Code extension publish tools, or any MQTT client to publish one of the sample JSON payloads above to sensors/zone1/temperature. If the Temperature Simulator from the previous section is still running, it already publishes every 5 seconds and you will see results on sensors/normalized (72°F is below 35°C). Check the topic tree displayed below the code cell to see incoming values update in real time.
4
Confirm output
Check that the corresponding output topic received the expected message (normalized value or alert).
1
Deploy the Temperature Alarm action
Publish the action to $SYS/Coreflux/Command with the -addAction prefix. On $SYS/Coreflux/Command/Output, confirm "success": true and that message reports Action TemperatureAlarm added.
2
Subscribe to output topics
Subscribe to sensors/normalized and alerts/high_temp so you can see responses.
3
Publish a test payload
Publish to topic sensors/zone1/temperature with payload {"temperature": 77} or {"temperature": 95} (use one of the sample payloads above).
4
Confirm output
You should see a message on sensors/normalized (for 77°F) or on alerts/high_temp (for 95°F).
This confirms your broker transforms data and applies conditional logic in real time.
In the LoT Editor, expand Broker → Entities → Actions in the sidebar, right-click the action, and choose Remove from broker…. Confirm—the action is removed from the broker immediately. See Removal for the other flows.
On the Coreflux Entities tab, right-click the desired action in your Actions list and select “Remove”.