You need to change broker settings—ports, TLS, connection limits, or other parameters—without editing configuration files. The System Configuration in the Coreflux HUB lets you view and modify broker settings from the browser.
Adjusting ports — Change MQTT, TLS, or WebSocket ports
TLS configuration — Enable or configure TLS for secure connections
Binding settings — Control which IP addresses the broker listens on
Other broker options — Any configurable broker parameter exposed in the UI
Changes made here are sent to $SYS/Coreflux/Config/New. The broker processes these changes, and some may require a manual restart or sysadmin intervention to apply. The displayed configuration reflects $SYS/Coreflux/Config.
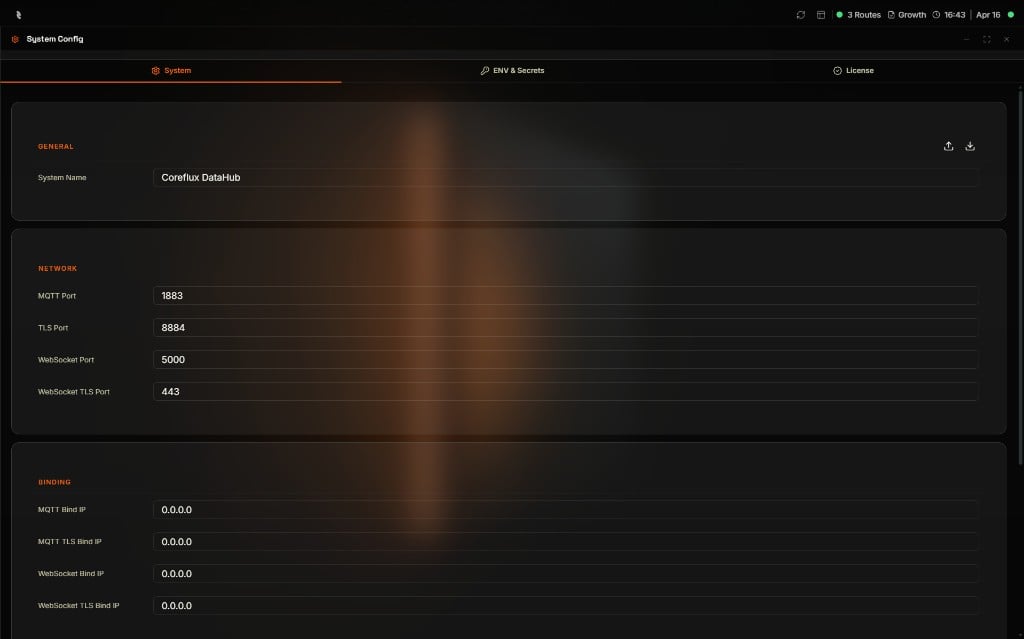
The System Config panel has three tabs — System, ENV & Secrets, and License. The System tab displays broker settings as editable form fields, organized into groups:
System Config panel — System tab with General, Network, and Binding groups
Group
Settings
General
System Name
Network
MQTT Port, TLS Port, WebSocket Port, WebSocket TLS Port
Edit values as needed and click the save button to apply changes. Use the import and export icons in the top-right of the General group to upload or download the configuration.
The ENV & Secrets tab is where you keep reusable values out of your Actions and Routes. Instead of typing the same database address or API key in every place that needs it, you save it once here and reference it by name. When the value changes, you update it in one spot.
Like a notebook and a vault. ENV Variables are the notebook — quick to read and easy to update for things like a server address. Secrets are the vault — locked away and only used by the broker, perfect for passwords and API keys.
For advanced topics like encryption keys, Docker and Kubernetes deployment, CLI commands, and the full LoT (Language of Things) syntax, see Environment Variables & Secrets.
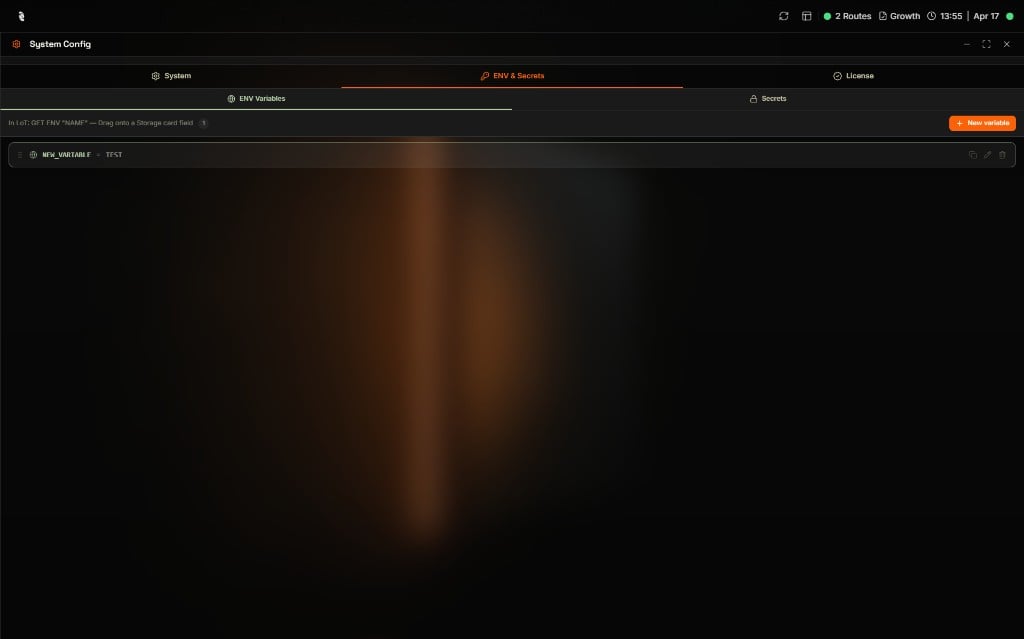
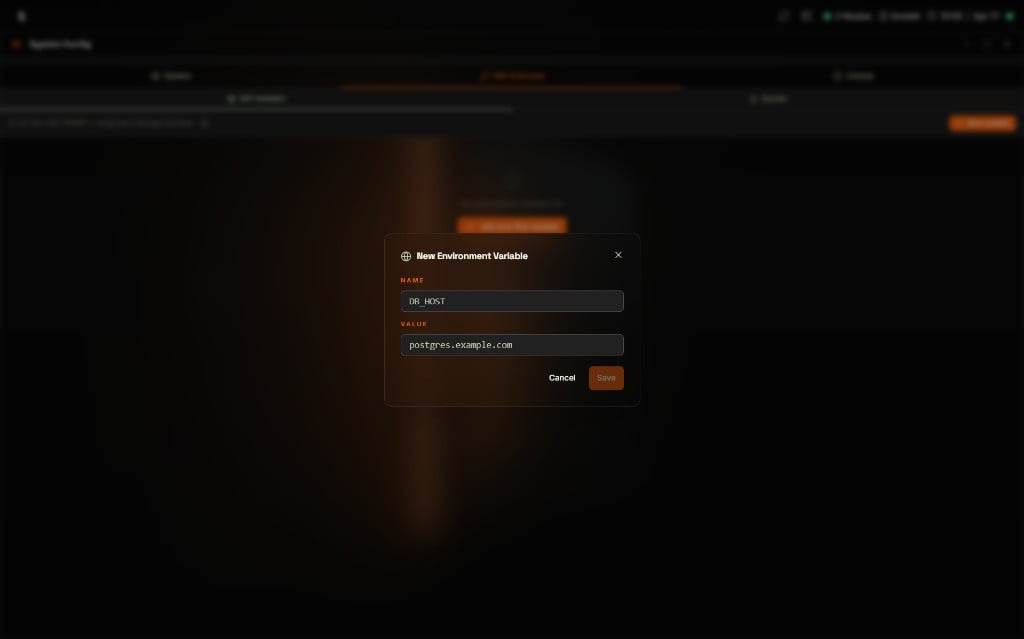
ENV Variables hold plain text values that anyone with access to the HUB can read. Use them for things that change between environments but aren’t sensitive — a database hostname, a port number, an API base URL, or a feature flag.
ENV Variables list with hover actions on the right (copy value, edit, delete)
Hover over any row in the list to reveal three quick actions on the right side:
Action
What it does
Copy value
Copies the current value to your clipboard so you can paste it elsewhere.
Edit
Reopens the form so you can change the value. The name stays the same.
Delete
Permanently removes the variable. Anything that uses it stops finding the value.
The hint at the top of the list — In LoT: GET ENV “NAME” — Drag onto a Storage card field — shows you how to use the variable later when you build Actions or Routes.
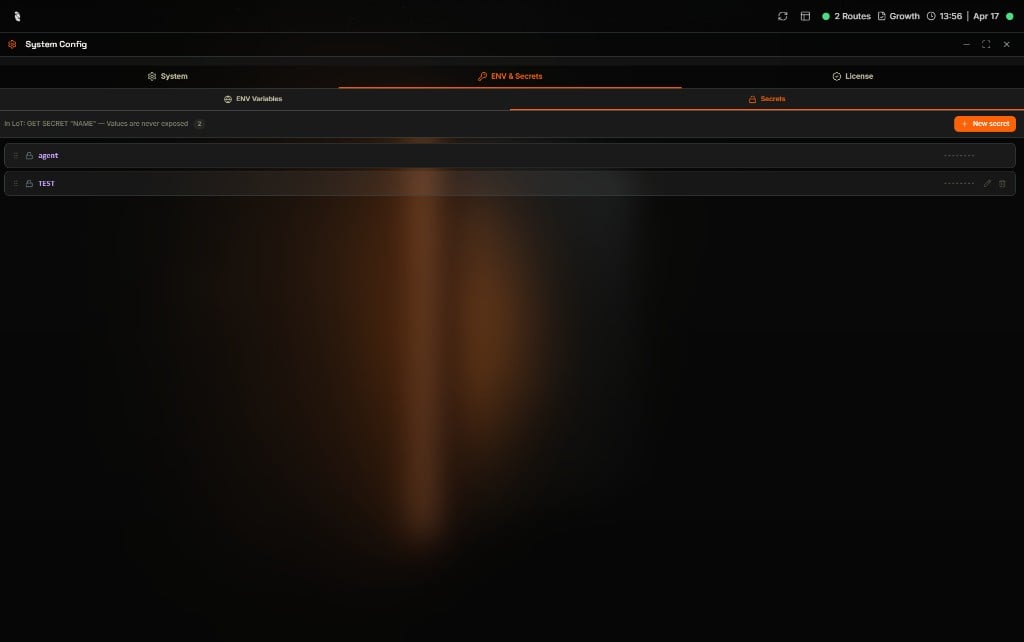
Secrets hold sensitive values that should never be shown again after you save them. The HUB encrypts them at rest, so even an administrator looking at the list only sees dots where the value should be. Use Secrets for passwords, API keys, tokens, and any other credentials.
Secrets list with hover actions on the right (set new value, delete) -- values are masked as dots
Click + New secret in the top-right corner of the Secrets list.
2
Fill in the name and value
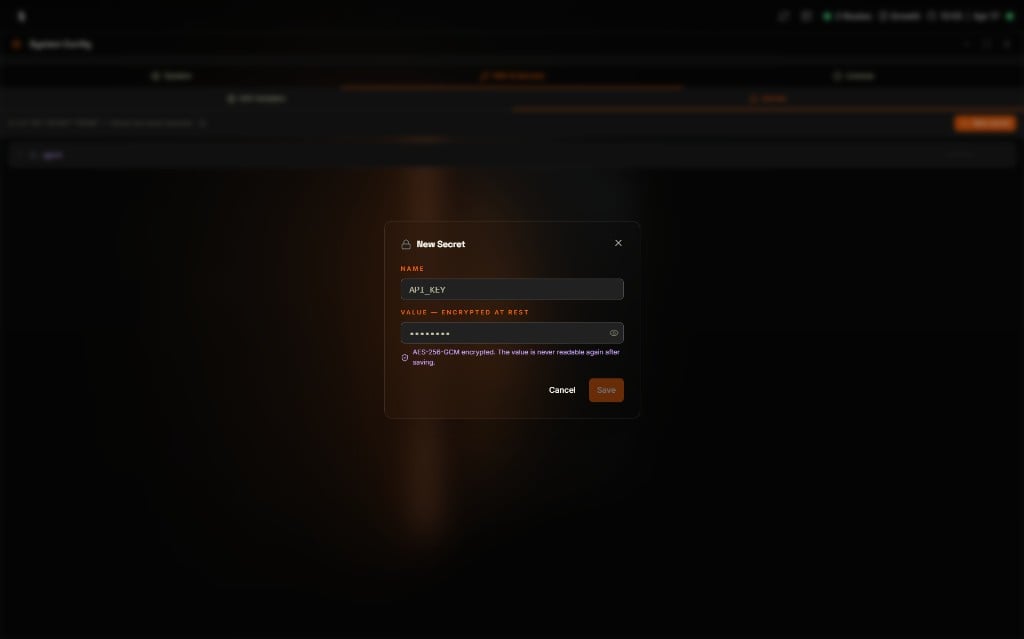
Give the secret a clear name like API_KEY and paste the value into the hidden field. The form notes that the value is AES-256-GCM encrypted and never readable again after saving.
New Secret dialog with NAME and a hidden VALUE field, plus the encryption notice
3
Save
Click Save. A confirmation toast like “Secret API_KEY saved” appears and the secret shows up in the list with its value masked.
Hover over any row in the list to reveal two quick actions on the right side:
Action
What it does
Set a new value
Opens the form so you can overwrite the secret with a new value. There is no way to view the current one.
Delete
Permanently removes the secret. Anything that uses it stops finding the value.
Once a secret is saved or deleted its original value cannot be recovered — not even by an administrator. If you lose a credential, set a new value or remove it and create it again with the correct value.
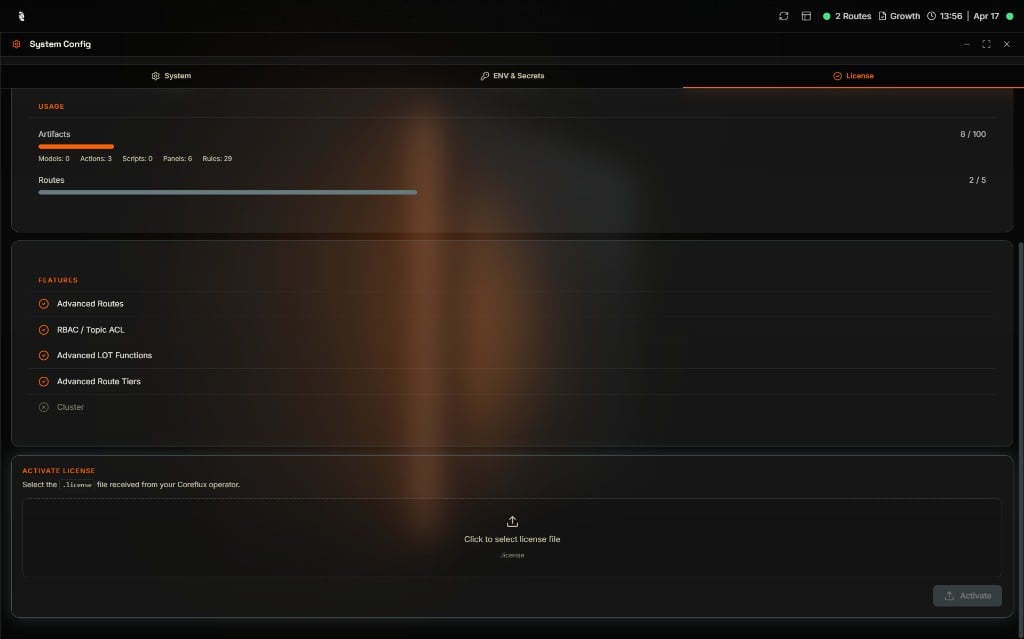
The License tab shows what your current Coreflux license allows, how much of each quota you are using, which premium features are unlocked, and where to upload a new license file when you receive one.
License tab with Usage, Features, and Activate License sections
The page is divided into three blocks:
Block
What you see
Usage
Progress bars for Artifacts (Models, Actions, Scripts, Panels, Rules) and Routes with the current count vs the license limit.
Features
A list of premium features with a check icon next to the ones your license unlocks and a cross next to the ones it does not.
Activate License
A drop area where you upload a .license file you received from your Coreflux operator.
Request a .license file from your Coreflux contact. Save it somewhere you can find it on your computer.
2
Select the file
In the Activate License section, click the drop area labeled Click to select license file and pick the .license file.
3
Activate
Click Activate. The Usage and Features sections refresh to reflect the new license.
If a feature you need shows as disabled after activation, contact your Coreflux operator — the license file may not include it, or you may need a different tier.