

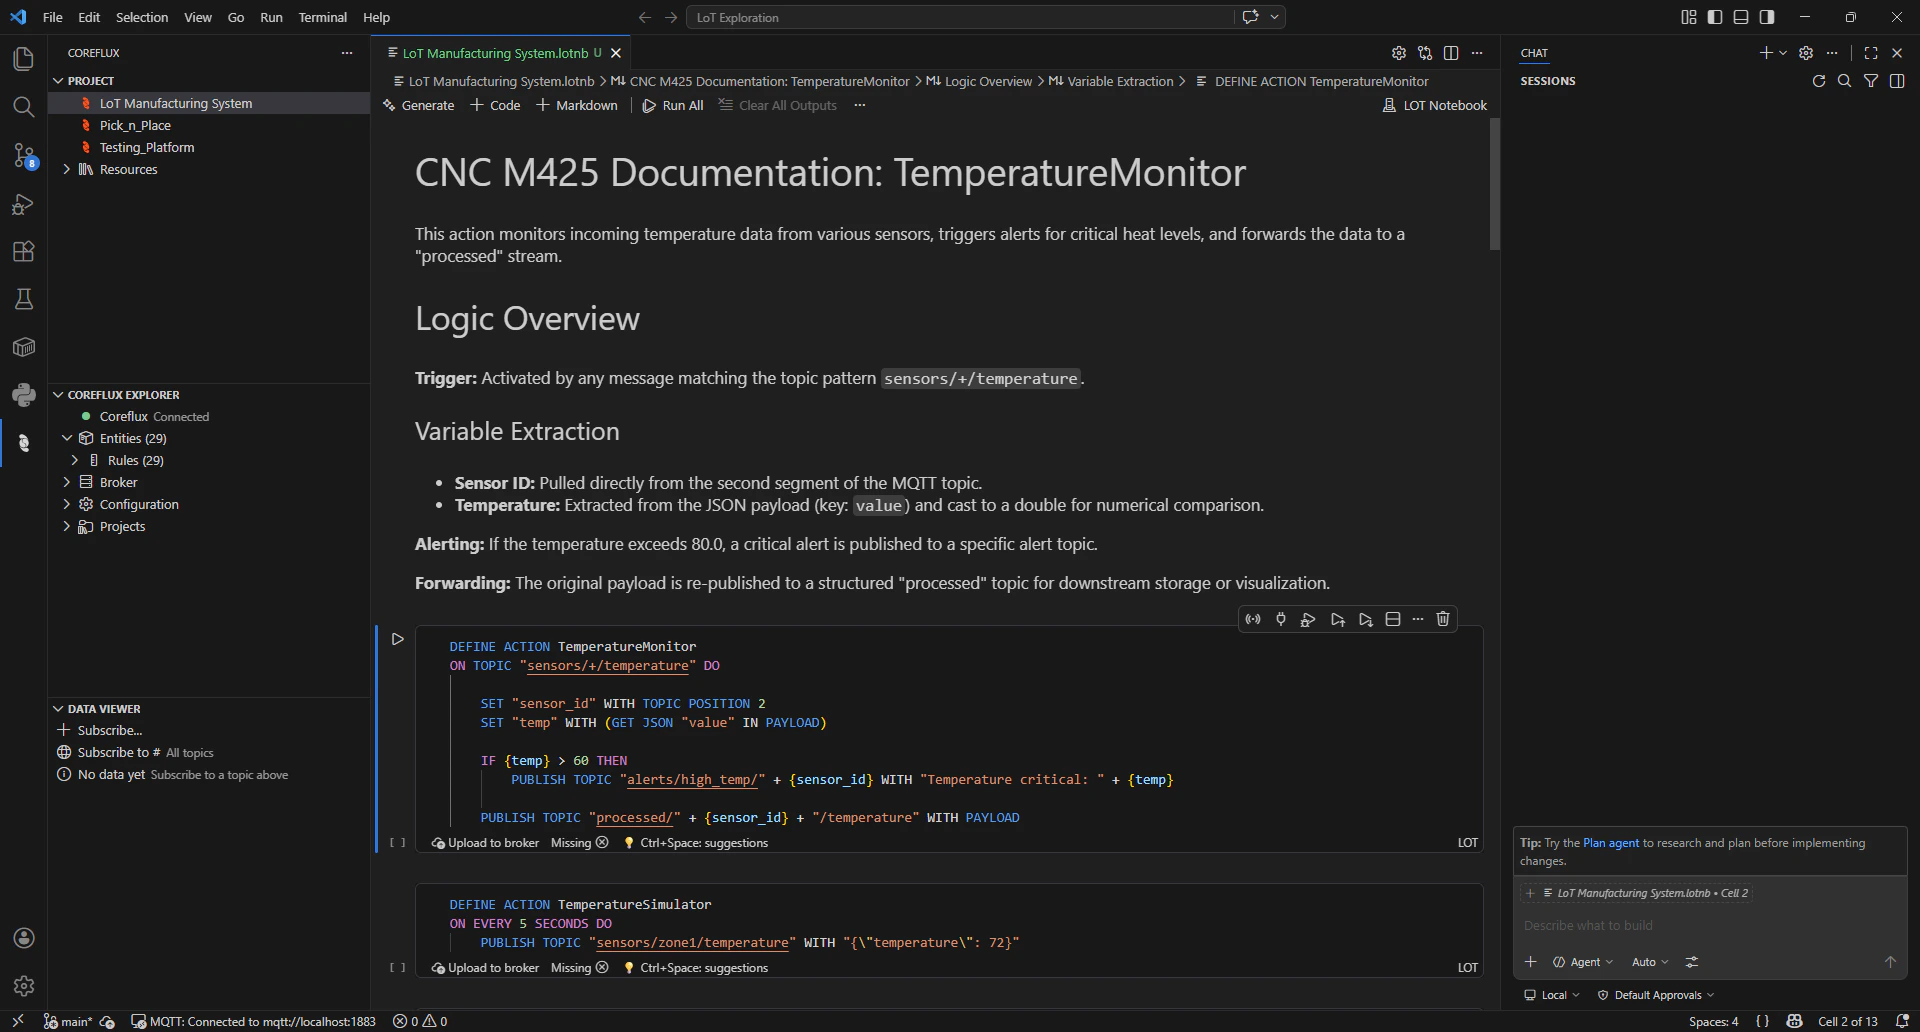
LoT Notebook workspace in VS Code: editor, Coreflux Explorer, Project, and Data Viewer
Overview
LoT Notebooks are living documentation: Markdown for documentation and runnable LoT code in the same file. You run LoT to deploy to the Coreflux MQTT broker, document with Markdown and use the Data Viewer to see what is happening on the broker.Before you start
- Visual Studio Code installed
- A Coreflux broker installed or in another machine you can reach
Install and connect
1
Install the extension
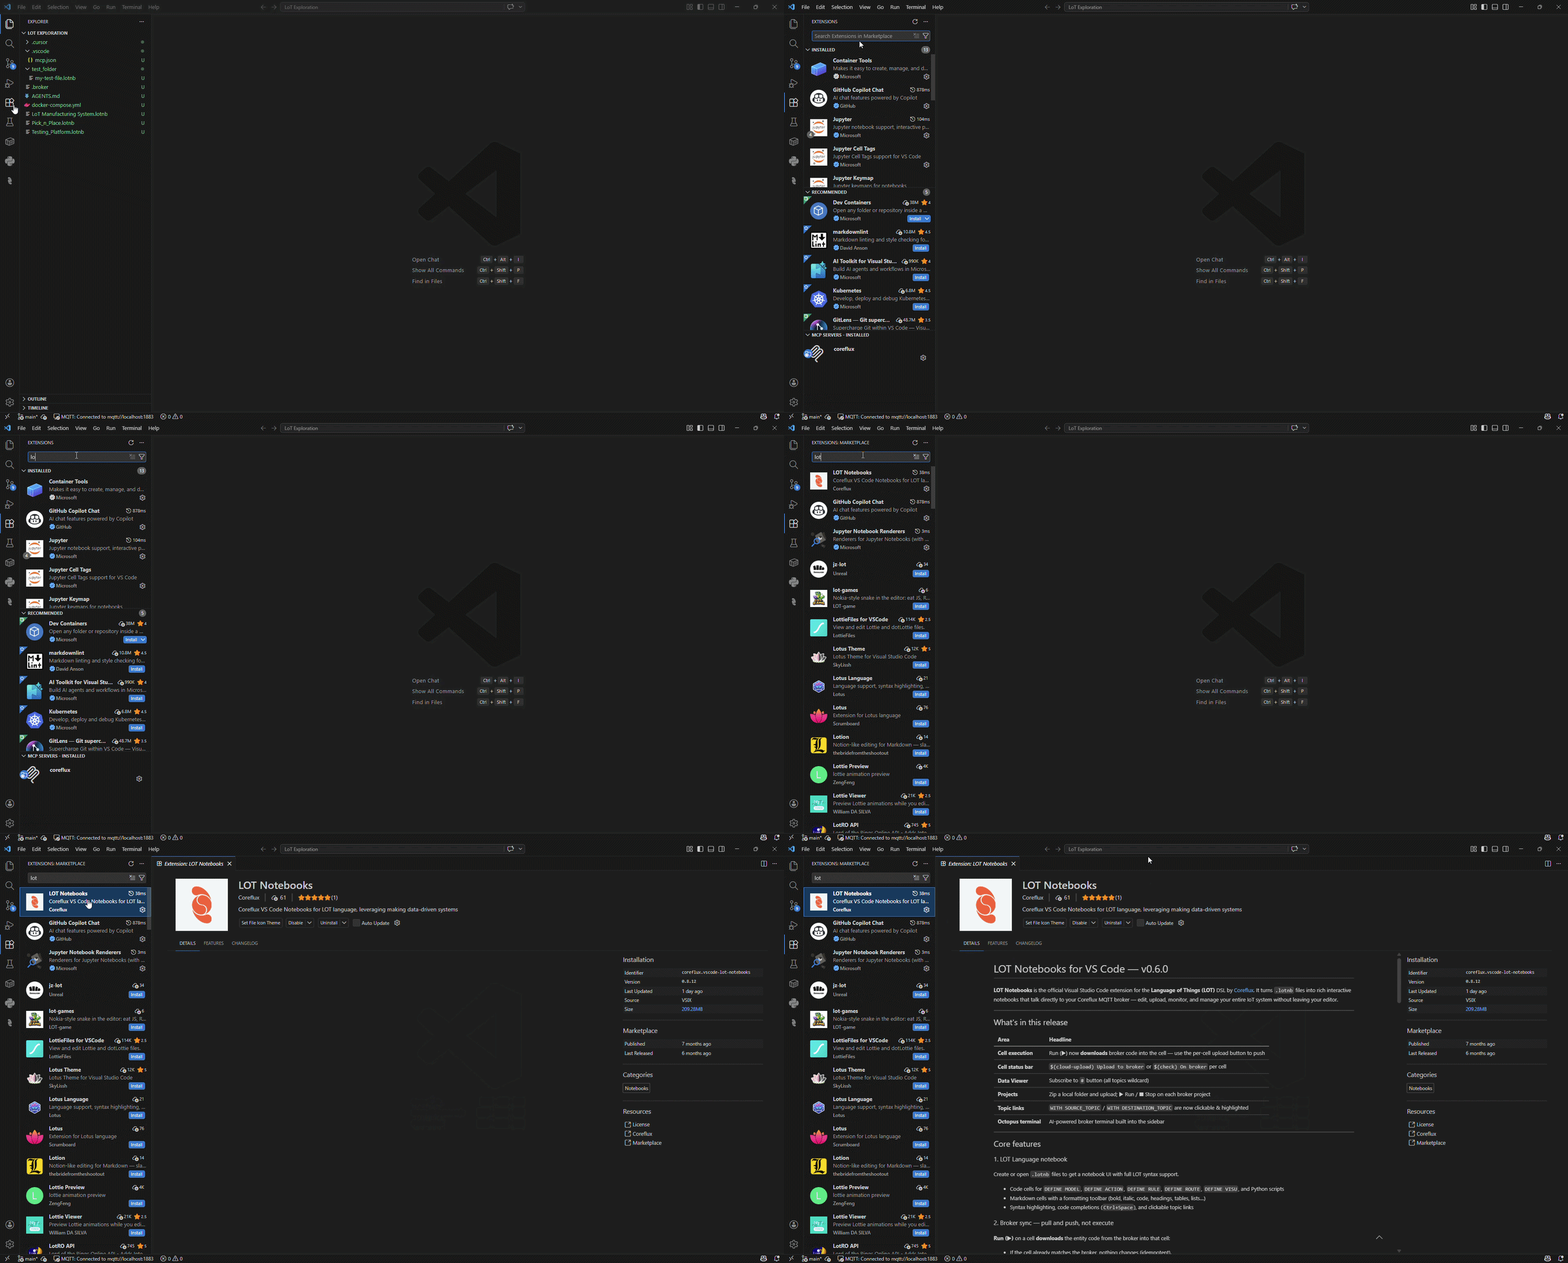
Extensions marketplace: search for Coreflux and install LoT Notebooks
- Open VS Code.
- Open the Extensions view in the sidebar (or use the shortcut
Ctrl+Shift+Xon Windows/Linux,Cmd+Shift+Xon macOS). - Search for LoT Notebooks by Coreflux and install it.
2
Connect to the broker
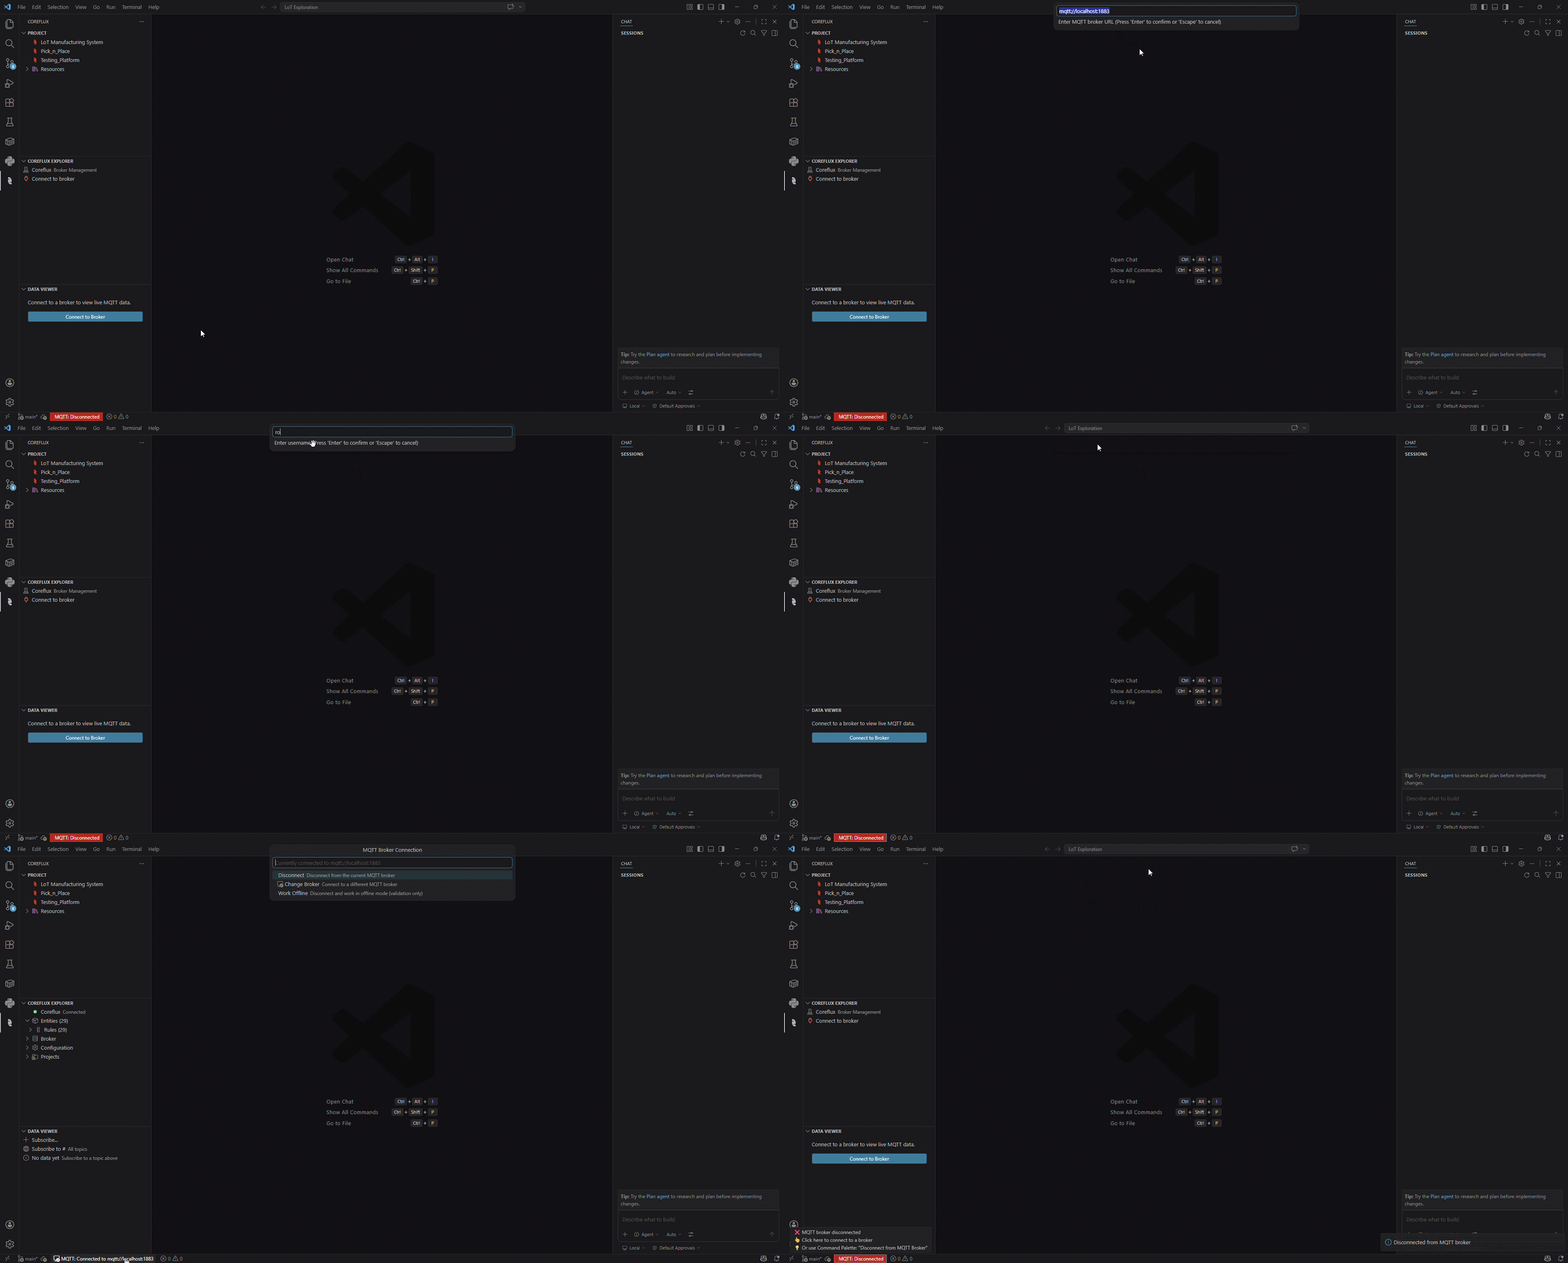
Connect to the broker: pick credentials or connect from the Data Viewer
- Click on the MQTT Connection Status on bottom left corner of your VS Code or click Connect to Broker in the Data Viewer (Coreflux sidebar).
- Enter your broker URL, username, and password.
Example URL and default login credentials
Example URL and default login credentials
Use a full URL such as
mqtt://localhost:1883 or mqtts://your-host:8883 for TLS.Create a LoT notebook and deploy your first LoT code
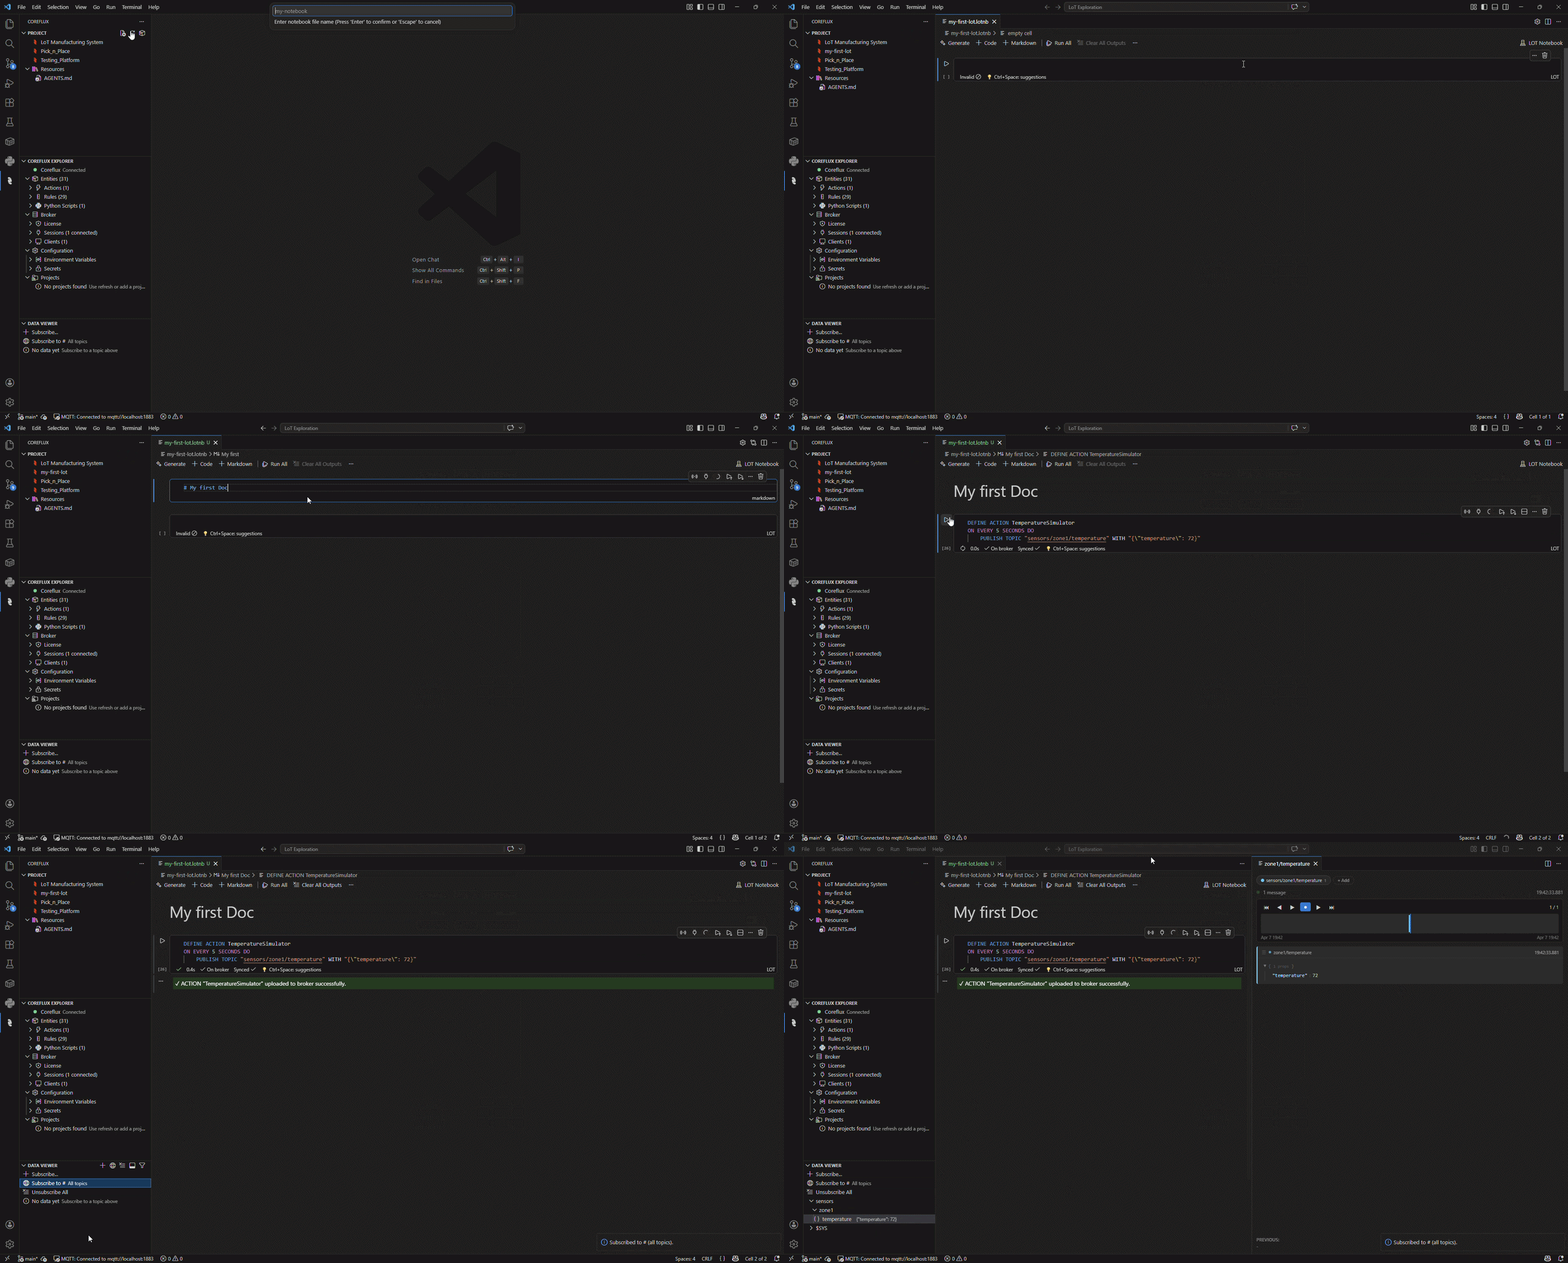
Create and deploy your first LoT
- In the Activity Bar (left bar), open Coreflux.
- Under PROJECT, use New File, give your LoT Notebook a name, and it will be created within the workspace folder you opened in VS Code.
- Add a code cell from the notebook toolbar (+ Code). Optionally, add a Markdown cell (+ Markdown) to document your code.
-
Write or paste a LoT code (for example the Action below) and click Execute Cell icon on the cell or Run All option above.
- See the data change in the Data Viewer, by subscribing to all topics, just like MQTT Explorer. Additionally, you can click on a data topic to see it in more detail, including a replay of the data changes.
Next Steps
How to Use a LoT Notebook in VS Code
Workflow, cells, broker connection, commands, Git, best practices, and troubleshooting.
How to Debug in LoT Extension
Data Viewer, replay, execution trace, and debug on LoT Notebooks.