

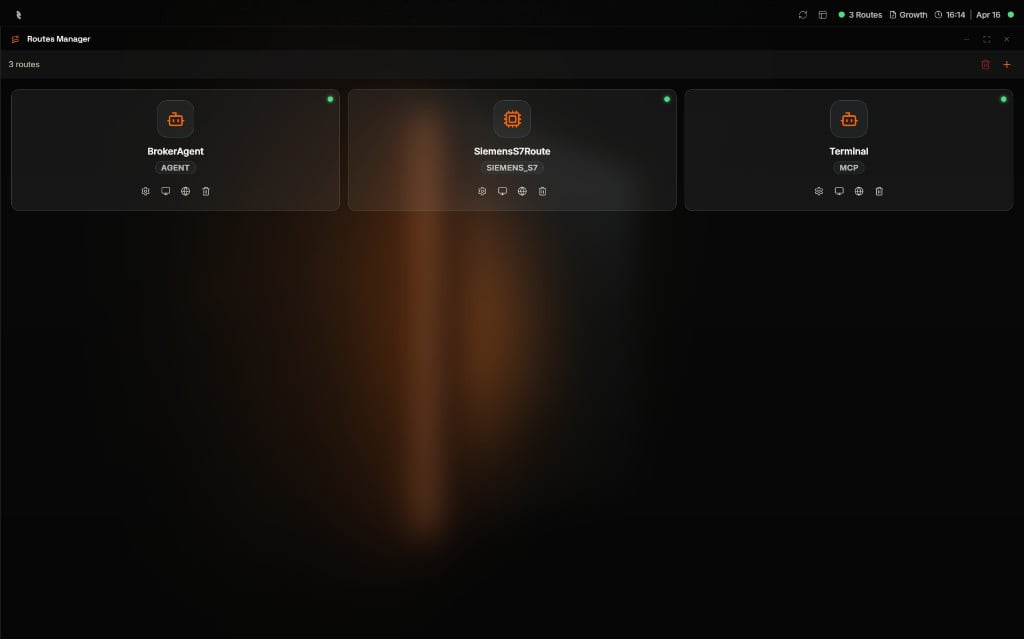
Routes section in the Coreflux HUB — route cards with live connection status, configuration, and monitoring tools
Why Use the Routes Section?
You need to manage Routes from the browser—add new routes, edit configuration, check connection status, and troubleshoot with logs. The Routes section of the Coreflux HUB lets you configure routes with a visual editor or LoT code, view connected and disconnected routes, and inspect route-specific logs.When to Use It
- Adding routes — Create routes from templates (PostgreSQL, MongoDB, Modbus, etc.) or write LoT code directly
- Configuring routes — Edit configuration, events, mappings, and tags in Visual or LoT mode
- Monitoring — See which routes are connected and which are not, and view real-time status metrics
- Troubleshooting — View route logs, filter by level, and export for analysis
Routes Tools
Routes Configuration
Routes Monitoring
Route List and Status
The Routes Manager displays all defined routes as cards. Each route card shows the route name, type (e.g.,SIEMENS_S7), and a status indicator dot in the top-right corner. The dot color tells you the current connection state at a glance:
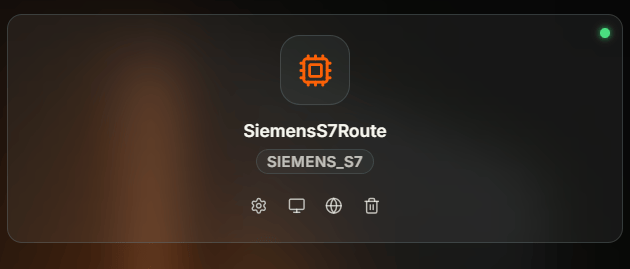
Route card for SiemensS7Route with a green status dot in the top-right indicating the route is connected
Route Card Actions
Click on a route card to open its context menu with three options:
Route card action icons — gear for Configuration, monitor for Monitor, globe for Documentation, and trash for Delete
Route Documentation
The Documentation option opens the Coreflux docs page for the route type in an embedded viewer inside the HUB. This gives you quick access to syntax reference, configuration parameters, and examples without leaving the interface.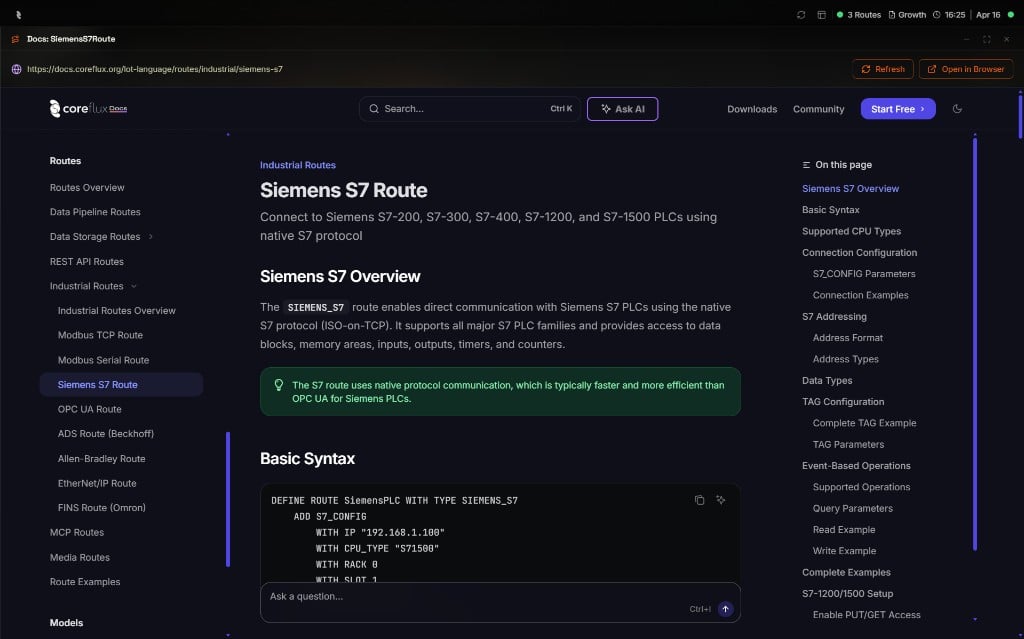
Embedded Docs window showing the Siemens S7 Route page from the Coreflux documentation inside the HUB
Adding a Route
Click Add a route + in the Routes Manager. The Create a New Route modal appears with two options:- Start from Scratch — Opens the LoT code editor where you write your route definition from scratch
- Start from Template — Opens the template list where you pick a route type and configure it visually
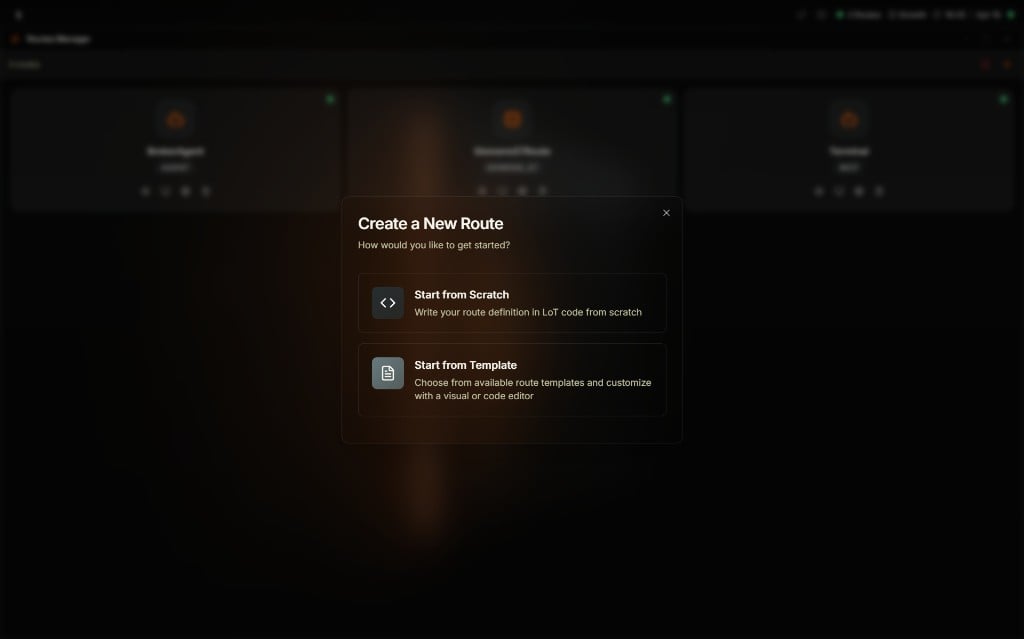
Create a New Route modal over the Route Manager — choose Start from Scratch to write LoT code or Start from Template to use a pre-built template
Start from Scratch
Select Start from Scratch to open the Create Route with Code Editor modal. Write your route definition in LoT language and click Create Route to deploy.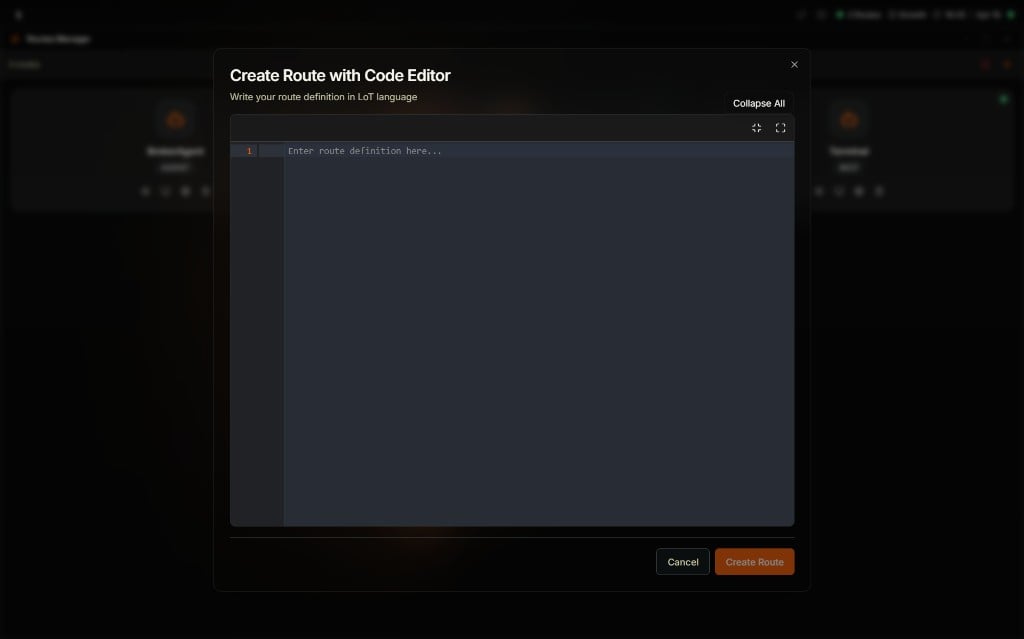
Create Route with Code Editor modal — a LoT code editor with Collapse All, fullscreen controls, and Create Route and Cancel buttons
Start from Template
Select Start from Template to open the templates list. Choose a route type to configure it visually.- Select Start from Template from the Create a New Route modal.
- The Templates list opens with available route types.
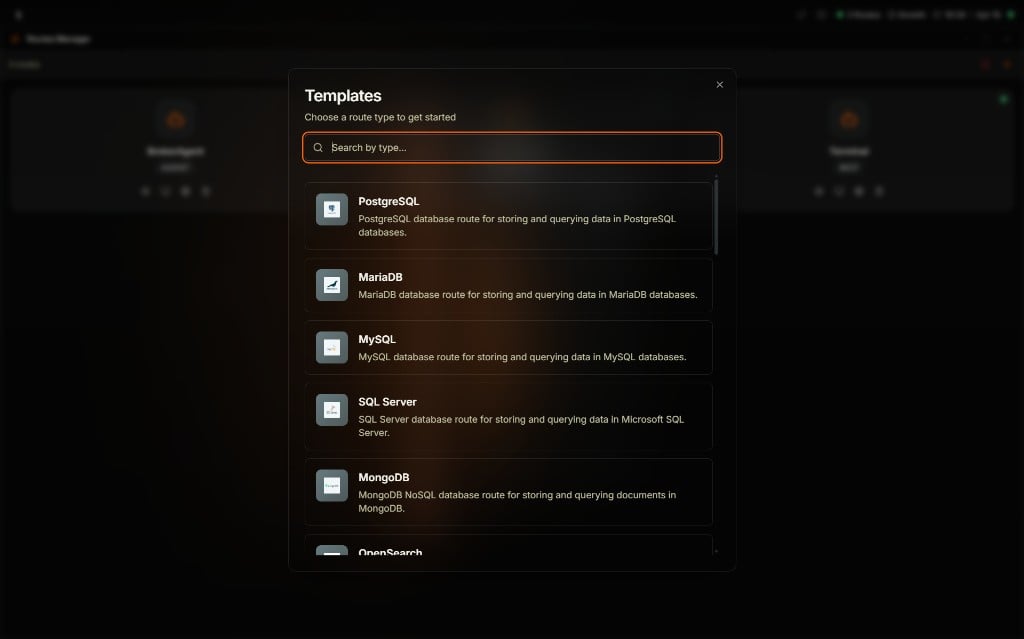
Templates picker — search for a route type and select one to generate a pre-filled configuration
- Use Search by type… to filter (e.g., “PostgreSQL”, “Modbus”).
- Select a template. The route creation view opens with a configuration form.
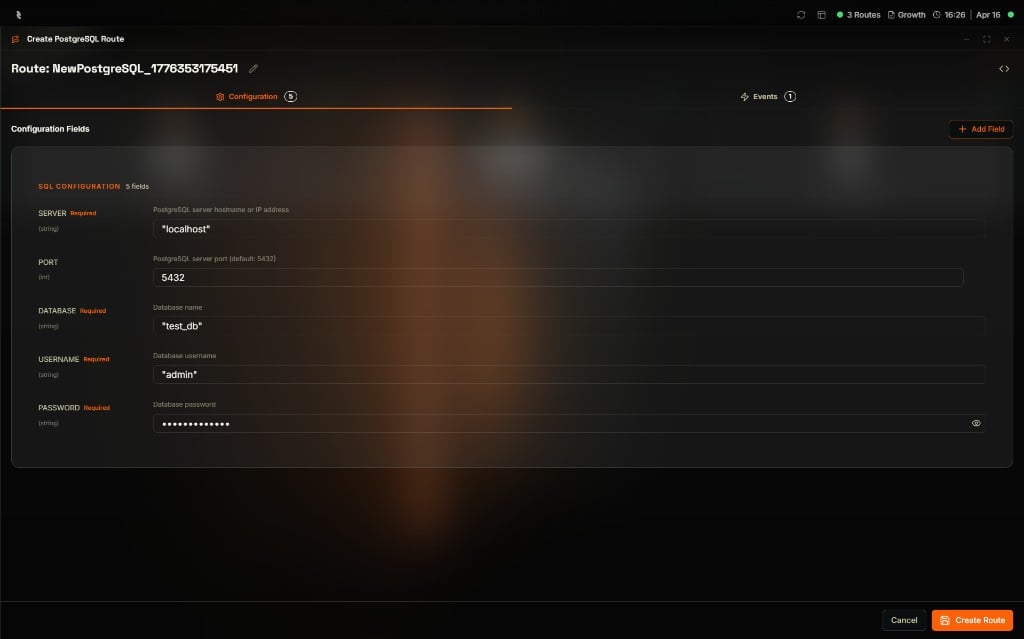
Create PostgreSQL Route view with the Configuration tab selected, showing the SQL Configuration fields and Events counters, plus Cancel and Create Route actions
- Configuration — Fill in the connection fields (server, port, database, username, password). Required fields are marked with a badge. Use + Add Field to include optional parameters.
- Events — Define events for the route (e.g., queries triggered by MQTT messages).
- LoT Mode — Switch to LoT Mode to view or edit the generated LoT code directly.
- Fill in the configuration fields and add events as needed.
- Click Create Route to deploy. Click Cancel to discard.