

Documentation Index
Fetch the complete documentation index at: https://docs.coreflux.org/llms.txt
Use this file to discover all available pages before exploring further.
Your Broker, Now With a Teammate
The AI Assistant lives inside the same Coreflux MQTT broker that already carries your sensor, PLC, and cloud traffic. You describe what you want in everyday language—ask for insights from the data already flowing through your broker, build Dashboards with live widgets and KPIs, or develop LoT (Language of Things) Actions that run on the broker—and the assistant uses the broker’s own tools to answer, draft, refine, and deploy. It is not a separate chat app pasted on top; it works with your live system.When to Use the AI Assistant
- Ship integrations faster — Describe connections or logic you need; the assistant drafts and deploys Routes, Actions, and panels where your permissions allow.
- Explore without guesswork — Ask what topics exist, which Routes are healthy, or how a KPI is calculated before you change anything.
- Hand off safely — Use read-only mode for operators or auditors who should see answers but not apply changes.
Run Models On-Premise or in the Cloud
Where inference runs is an architecture and compliance choice. The AI Assistant supports edge (on-premise) models and cloud providers so you can keep prompts and payloads on your network when you need to, or use hosted APIs when policy allows.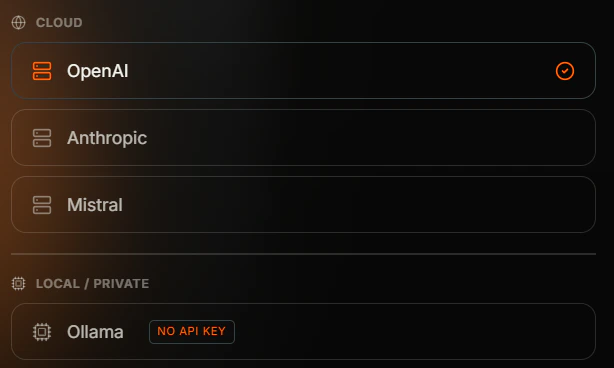
- On-premise (edge) — Run models on hardware you control, for example Ollama on the same host or LAN as the broker, so data does not leave your site.
- Cloud providers — Connect to hosted models such as OpenAI, Anthropic, or Mistral when your organization allows traffic to leave the network.
Set up the AI Assistant
The first time you open the AI Assistant, a short wizard walks you through three choices—provider, model, and API key—and prepares your broker. You only do this once per broker; after that, clicking the Coreflux icon opens the assistant directly.Open the AI Setup wizard
Click the Coreflux icon in the bottom dock. On a fresh broker, the AI Setup wizard slides in on the right and asks you to pick where the model will run—a Cloud provider (OpenAI, Anthropic, Mistral) or Local / Private (Ollama). Pick one and click Continue.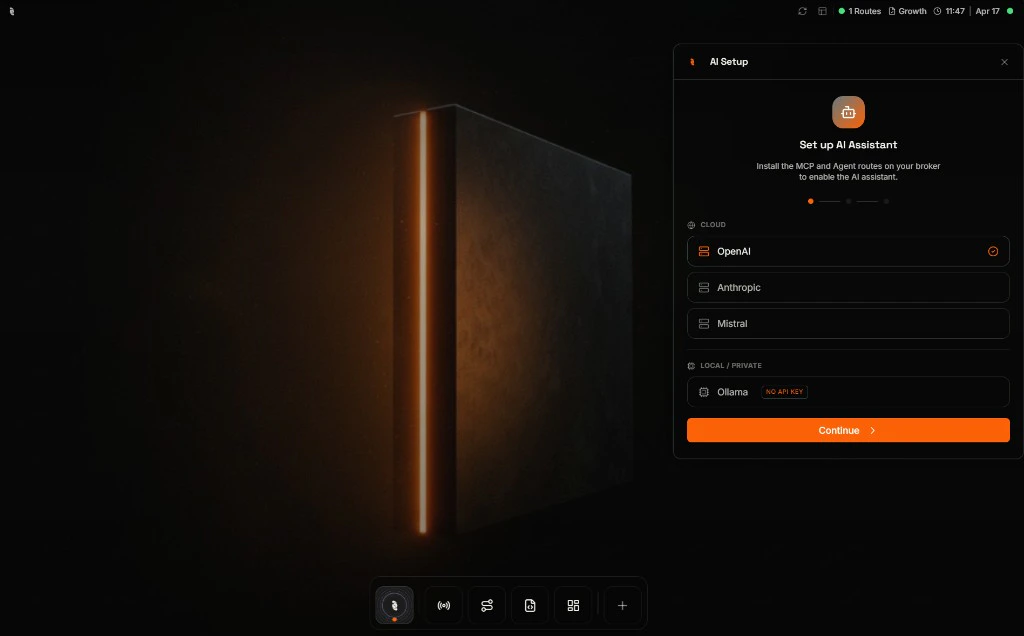
Pick a model
Choose a model from the suggested list, or type the exact model name your provider supports (for example 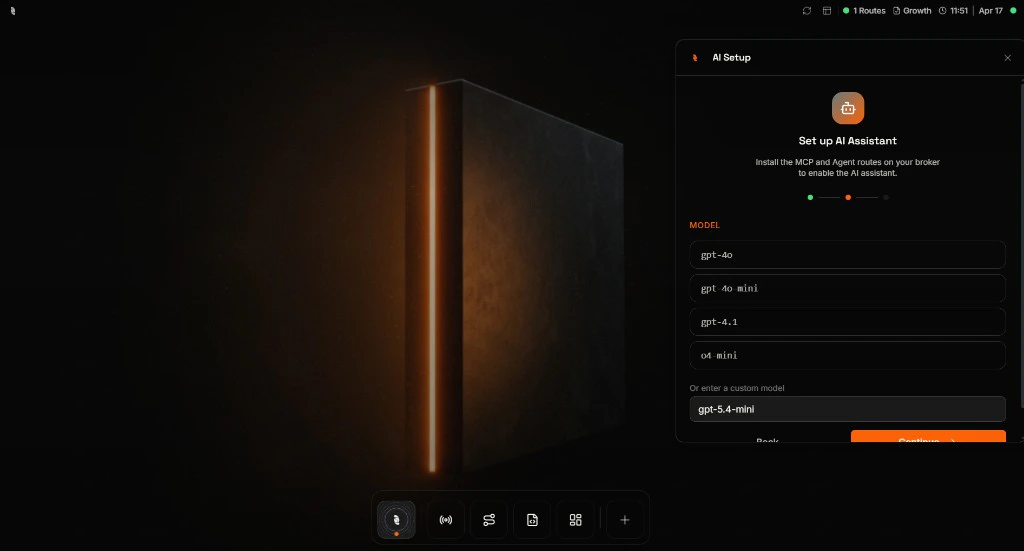
gpt-5.4-mini) into the custom field. Click Continue when you are ready.Add your API key
Paste the API key from your chosen provider. The key is stored as an encrypted secret on the broker and is never sent back to your browser. The wizard also shows a quick summary of what it is about to install so you know what to expect.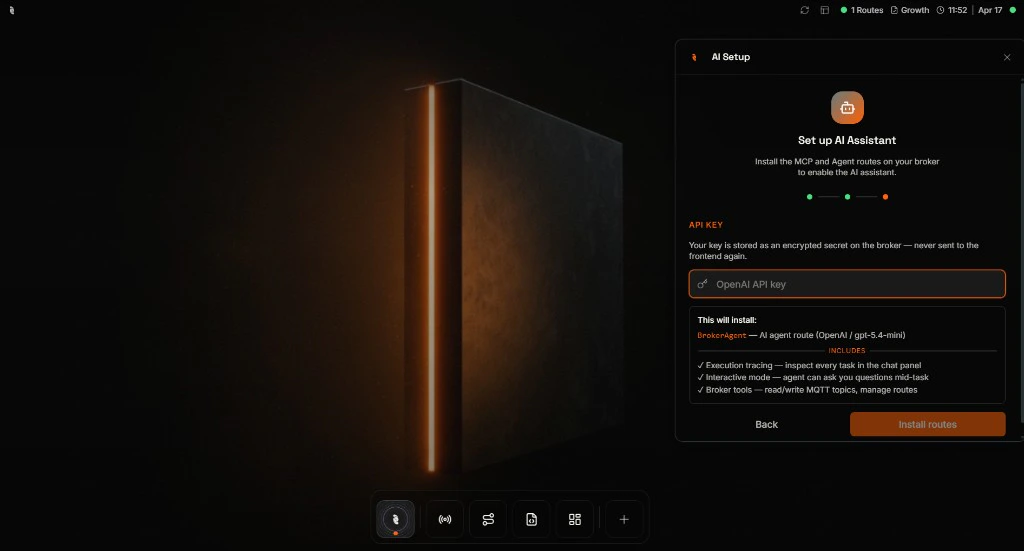
If you picked Ollama in the earlier step, the wizard skips this screen entirely—your local Ollama endpoint does not need a key.
Where do I get an API key?
Where do I get an API key?
Sign in to the provider you picked in the previous step and follow their docs to create a key:
- OpenAI — platform.openai.com/api-keys
- Anthropic — console.anthropic.com
- Mistral — console.mistral.ai
Install and you're ready
Click Install routes. The broker provisions everything the assistant needs in a few seconds and then closes the wizard automatically.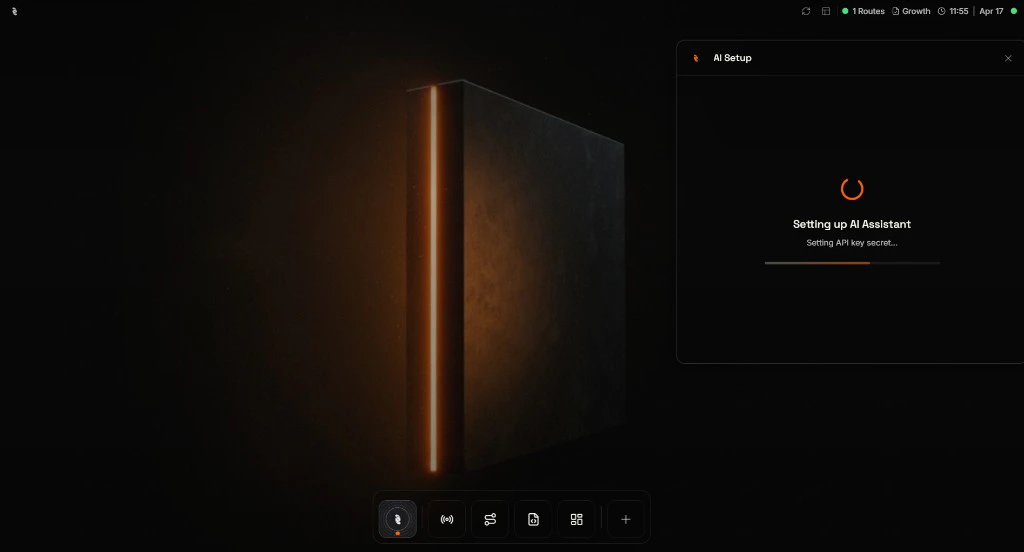
Once the wizard closes, the AI Assistant is live on this broker. From now on, clicking the Coreflux icon opens the assistant directly—no more setup.
Open the AI Assistant
Use the Coreflux icon in the bottom app dock—the first icon on the left. You can peek at the assistant without opening the full side panel, then click when you want the full workspace.Hover to preview
Hover the Coreflux icon. A compact Coreflux AI bubble appears above the dock with an Ask anything… field and Insight / Agent mode pills so you can send a quick prompt or pick a mode before you commit to the full panel.
Click to open the full panel
Click the Coreflux icon to pin the AI Assistant on the right. You get suggested prompts (for example Create a dashboard or Calculate a new KPI), a Sources area for dragging in panels such as the LoT Editor, and the full conversation thread with edit and close controls in the header.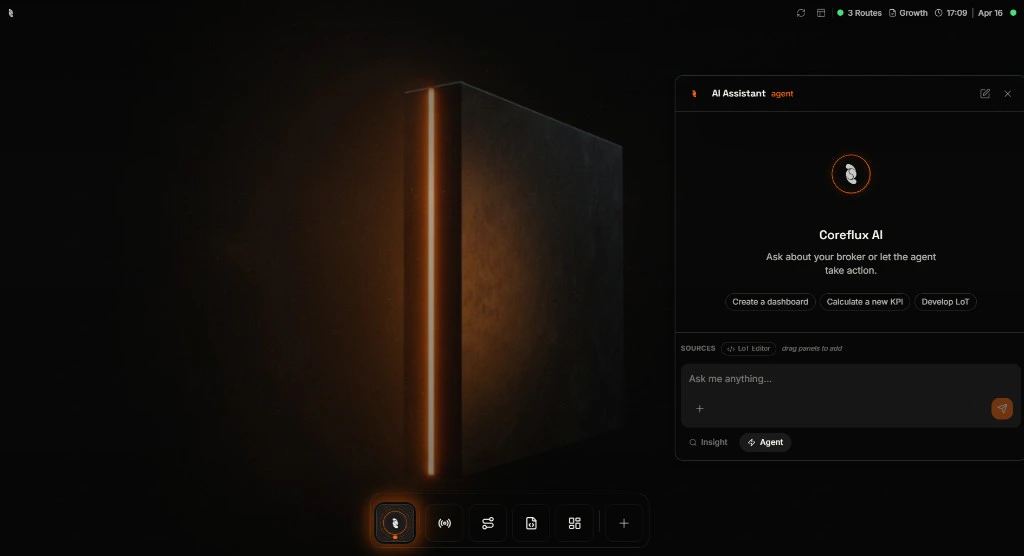
Agent vs Insight mode
Pick the mode that matches how much change you want the assistant to make. You can switch at the bottom of the panel at any time.| Mode | What it does | Use it when |
|---|---|---|
| Agent | Can read broker state and create or update things—Routes, Actions, Models, panels—subject to your account permissions. | You want the assistant to build or change integrations, logic, or dashboards. |
| Insight | Read-only—inspects topics, Routes, payloads, and traces; answers questions; can show tables and charts. | You want safe exploration, reporting, or to give users answers without deploy rights. |
What you can do
These are typical starting points—phrase them in your own words; the assistant will ask follow-ups if something is missing.Build a dashboard
Ask for live gauges, KPI tiles, or layouts bound to your MQTT topics; the assistant drafts and wires widgets you can refine in the panel.
Develop an Action in LoT
Describe triggers, conditions, and outputs in plain language; the assistant proposes LoT you review and deploy without leaving the conversation.
Calculate a new KPI
Describe the metric or inputs you care about; the assistant drafts logic, confirms details with you, and deploys an Action in Agent mode.
Explain your broker state
Ask what Routes or topics exist, why something errored, or how signals relate—natural in Insight mode when you want answers before any changes.
Example: Build a KPI with Agent mode
Below is one real flow: you ask for a KPI, the assistant requests the missing pieces, then deploys an Action and offers a shortcut to the LoT Editor. Stay in Agent mode for this path.Ask
Type a goal such as Calculate a new KPI. The assistant loads context and may offer quick actions that match what you said.
Clarify
When the assistant needs a formula, source topic, or rule, it pauses and asks you directly—you reply in the thread instead of guessing what to type up front.
Deploy
After you supply enough detail, the assistant can draft LoT, deploy an Action, and show a status card. Use Open in LoT Editor when you want to inspect or tweak the definition yourself.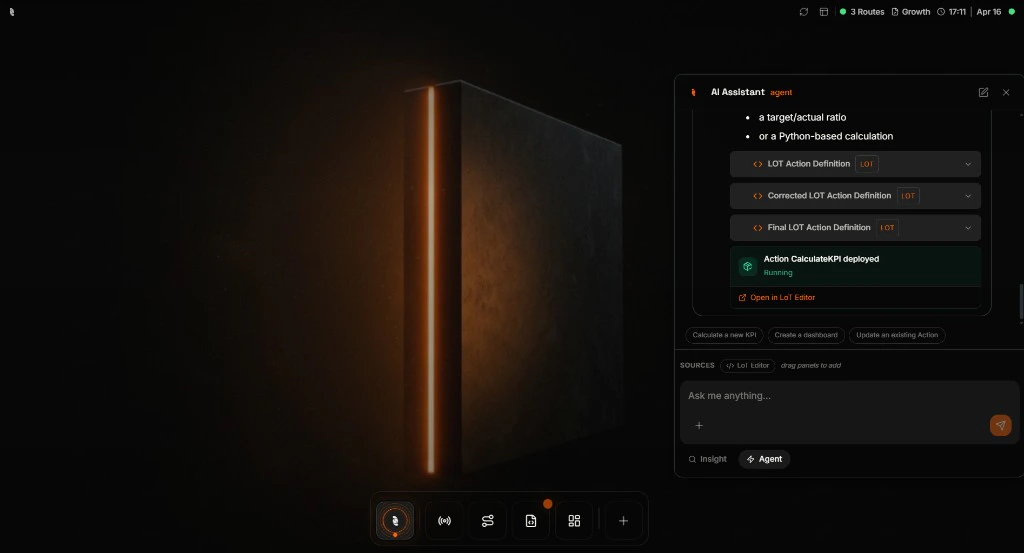
When you see Running (or equivalent success state) on the deployment card, the new Action is live on the broker—confirm in the LoT Editor if you want to read the exact definition.
Example: Explore safely with Insight mode
Switch to Insight before you send if you only want answers—not changes. You can still get structured output such as tables and follow-up suggestions.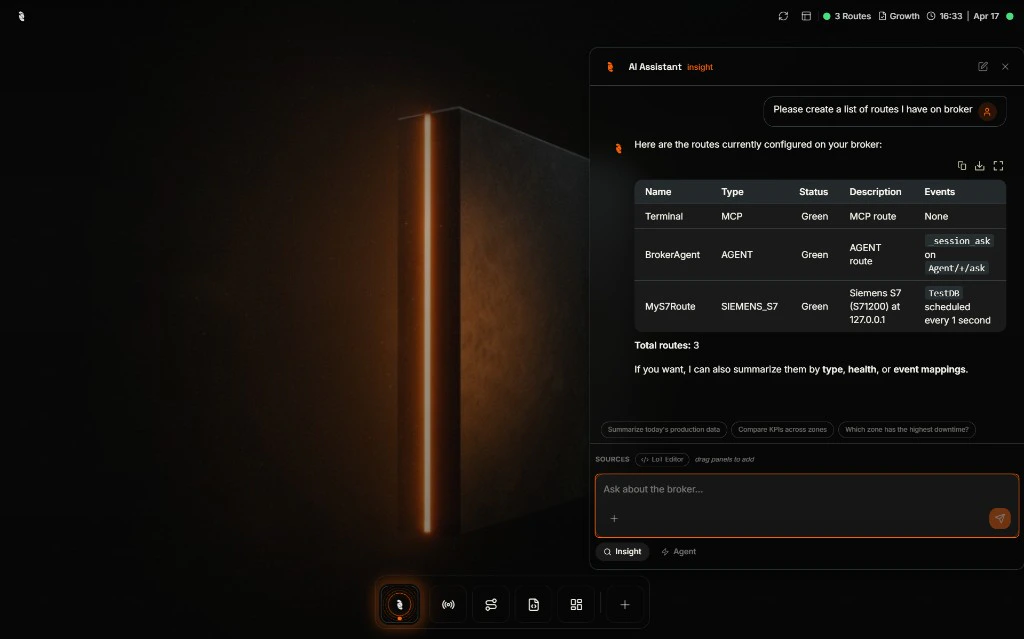
Built-in safeguards
- Your permissions apply — The assistant cannot read topics or change Routes beyond what your HUB user is allowed to do.
- Insight mode is read-only — No deploy, publish, or execute path while Insight is selected.
- Stop at any time — Long runs can be cancelled from the UI so you are never stuck waiting on a runaway answer.
- Same deployment path as humans — Anything the assistant deploys still goes through the broker’s normal validation and permission checks.
Best practices
Start in Insight when you are learning
Start in Insight when you are learning
Use Insight to map topics, Routes, and health first. Switch to Agent only when you are ready for the assistant to create or update broker objects.
Always review what was deployed
Always review what was deployed
Open new Actions or Routes in the LoT Editor or Routes app to read names, triggers, and bindings before you rely on them in production.
Next steps
LoT Editor
Open and refine Actions, Models, and Rules the assistant creates—same editor, full control.
Routes overview
Add or monitor Routes the assistant can read and help you configure next.