

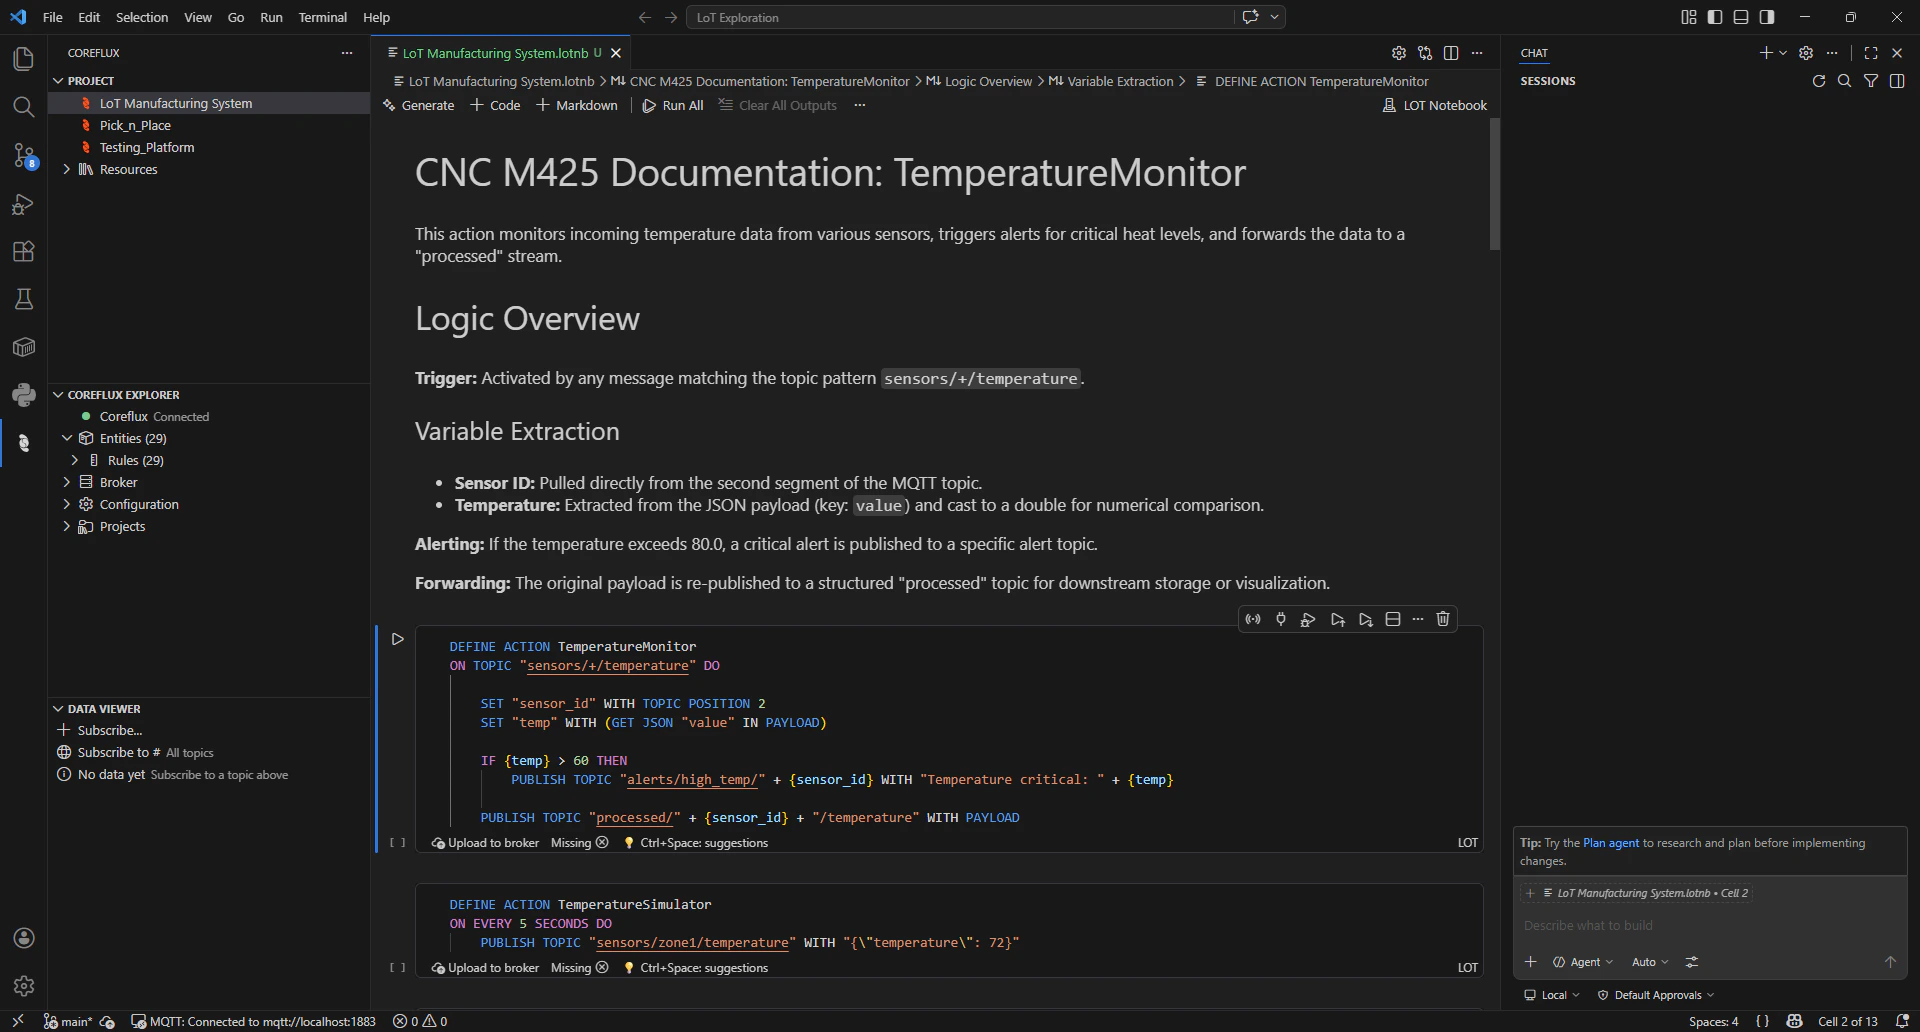
LoT Notebook workspace in VS Code: editor, Coreflux Explorer, Project, and Data Viewer
The Notebook Workflow
LoT Notebooks combine Documentation in Markdown and LoT code in a single file, so you can both run your code and keep your documentation together, using the notebook as living documentation for your project.Install and connect
Install the extension
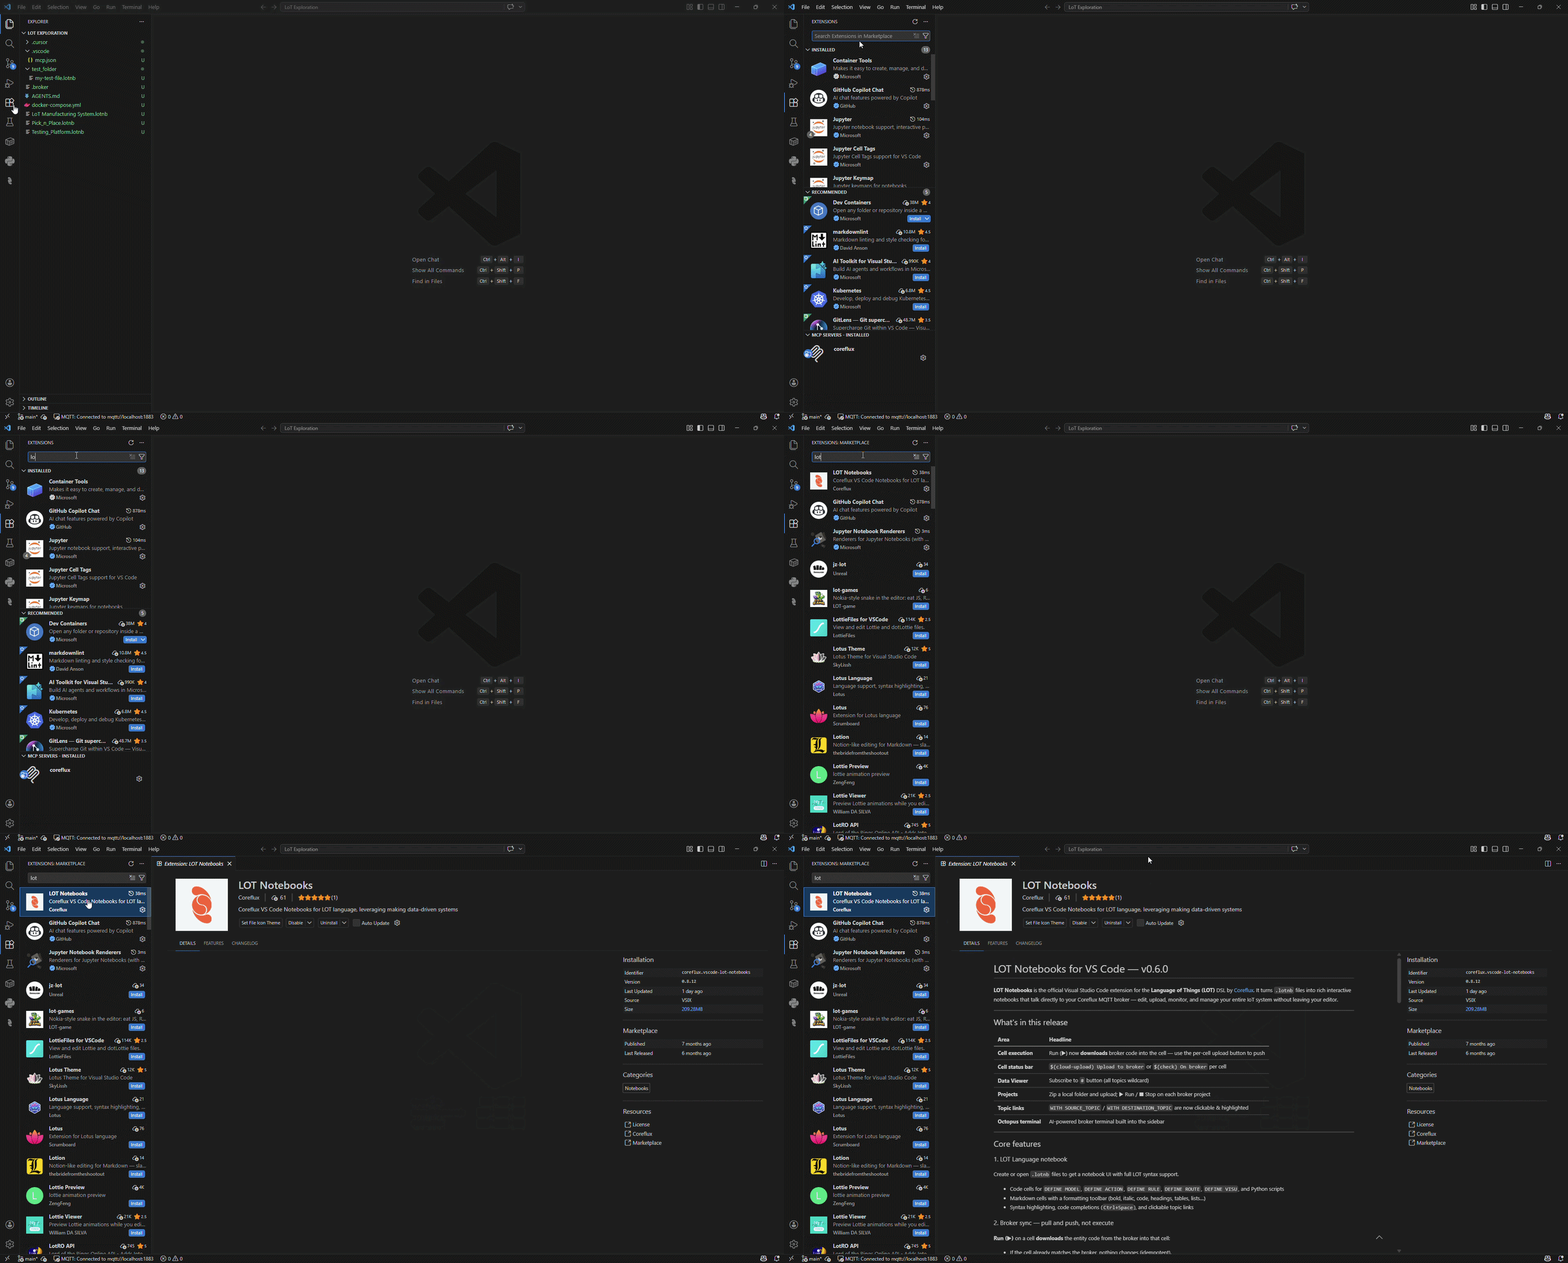
Extensions marketplace: search for Coreflux and install LoT Notebooks
- Open VS Code.
- Open the Extensions view in the sidebar (or use the shortcut
Ctrl+Shift+Xon Windows/Linux,Cmd+Shift+Xon macOS). - Search for LoT Notebooks by Coreflux and install it.
Connect to the broker
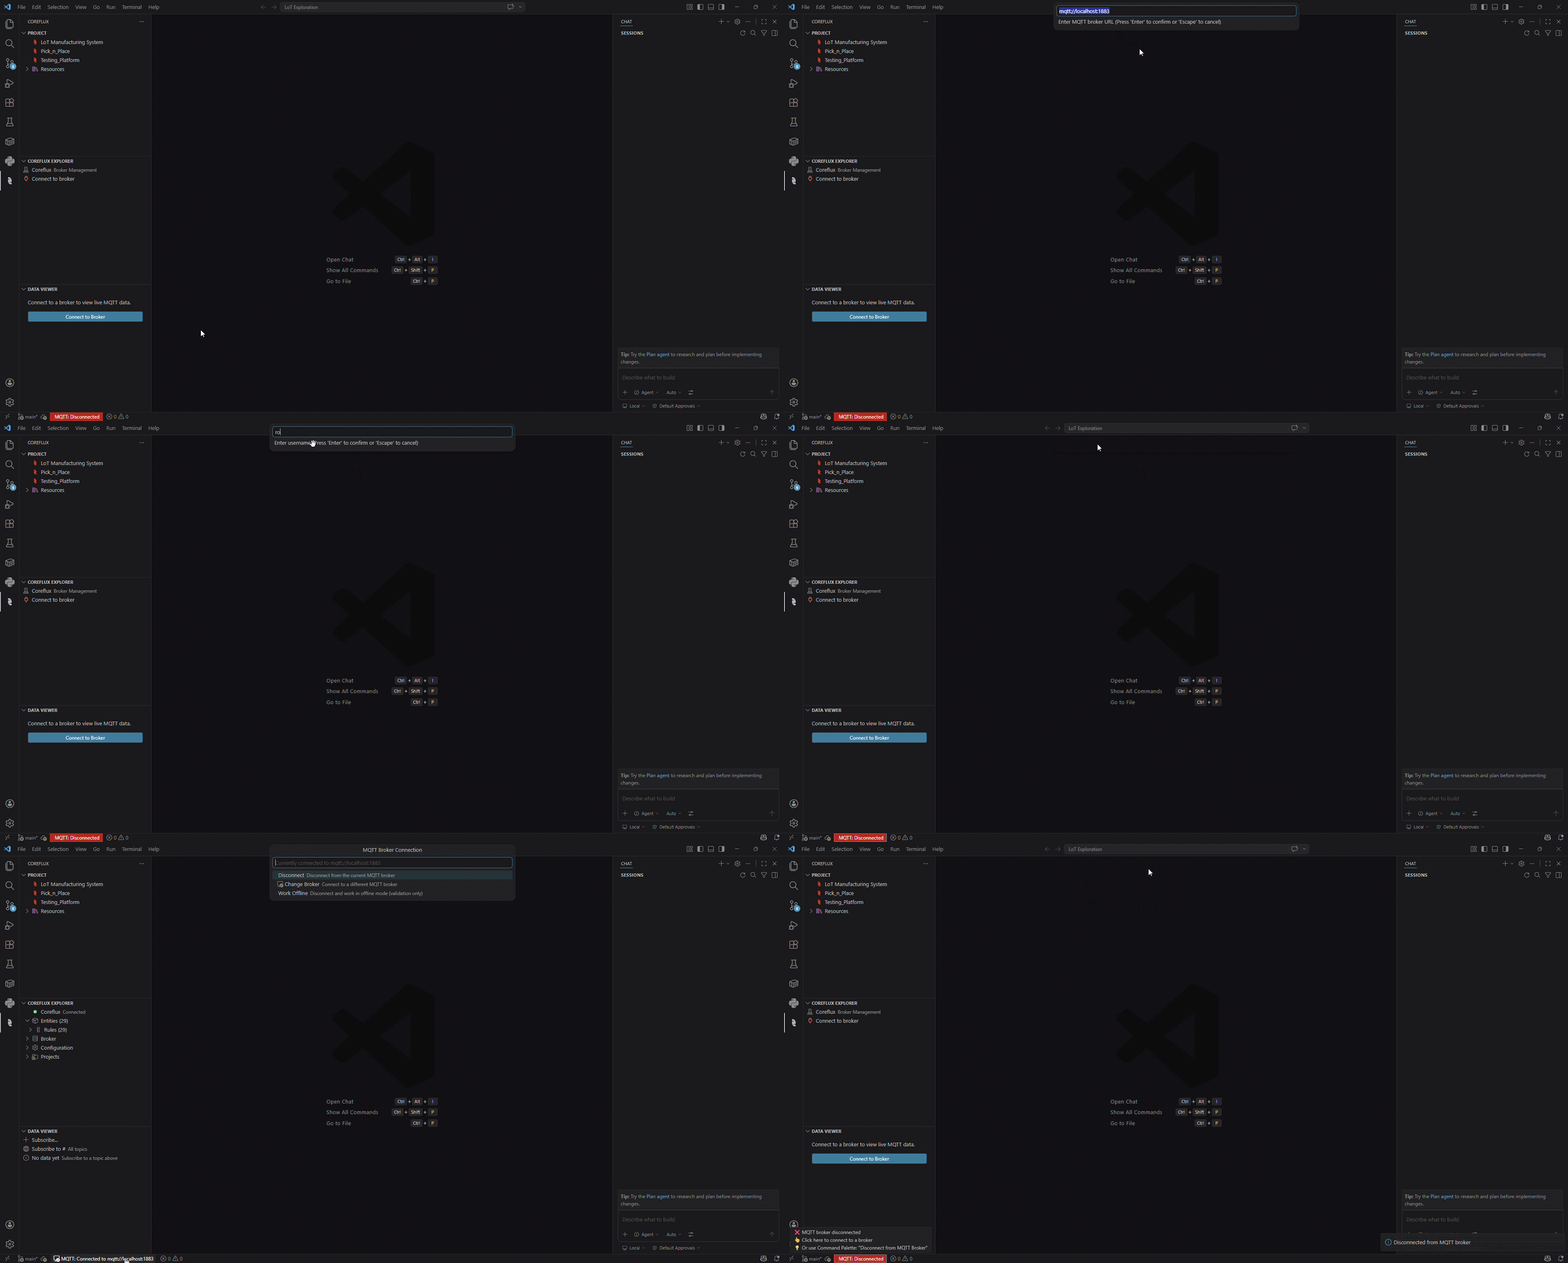
Connect to the broker: pick credentials or connect from the Data Viewer
- Click the MQTT connection status in the bottom-left of VS Code, or click Connect to Broker in the Data Viewer (Coreflux sidebar).
- Enter your broker URL, username, and password.
Example URL and default login credentials
Example URL and default login credentials
mqtt://localhost:1883 or mqtts://your-host:8883 for TLS.Create a new project
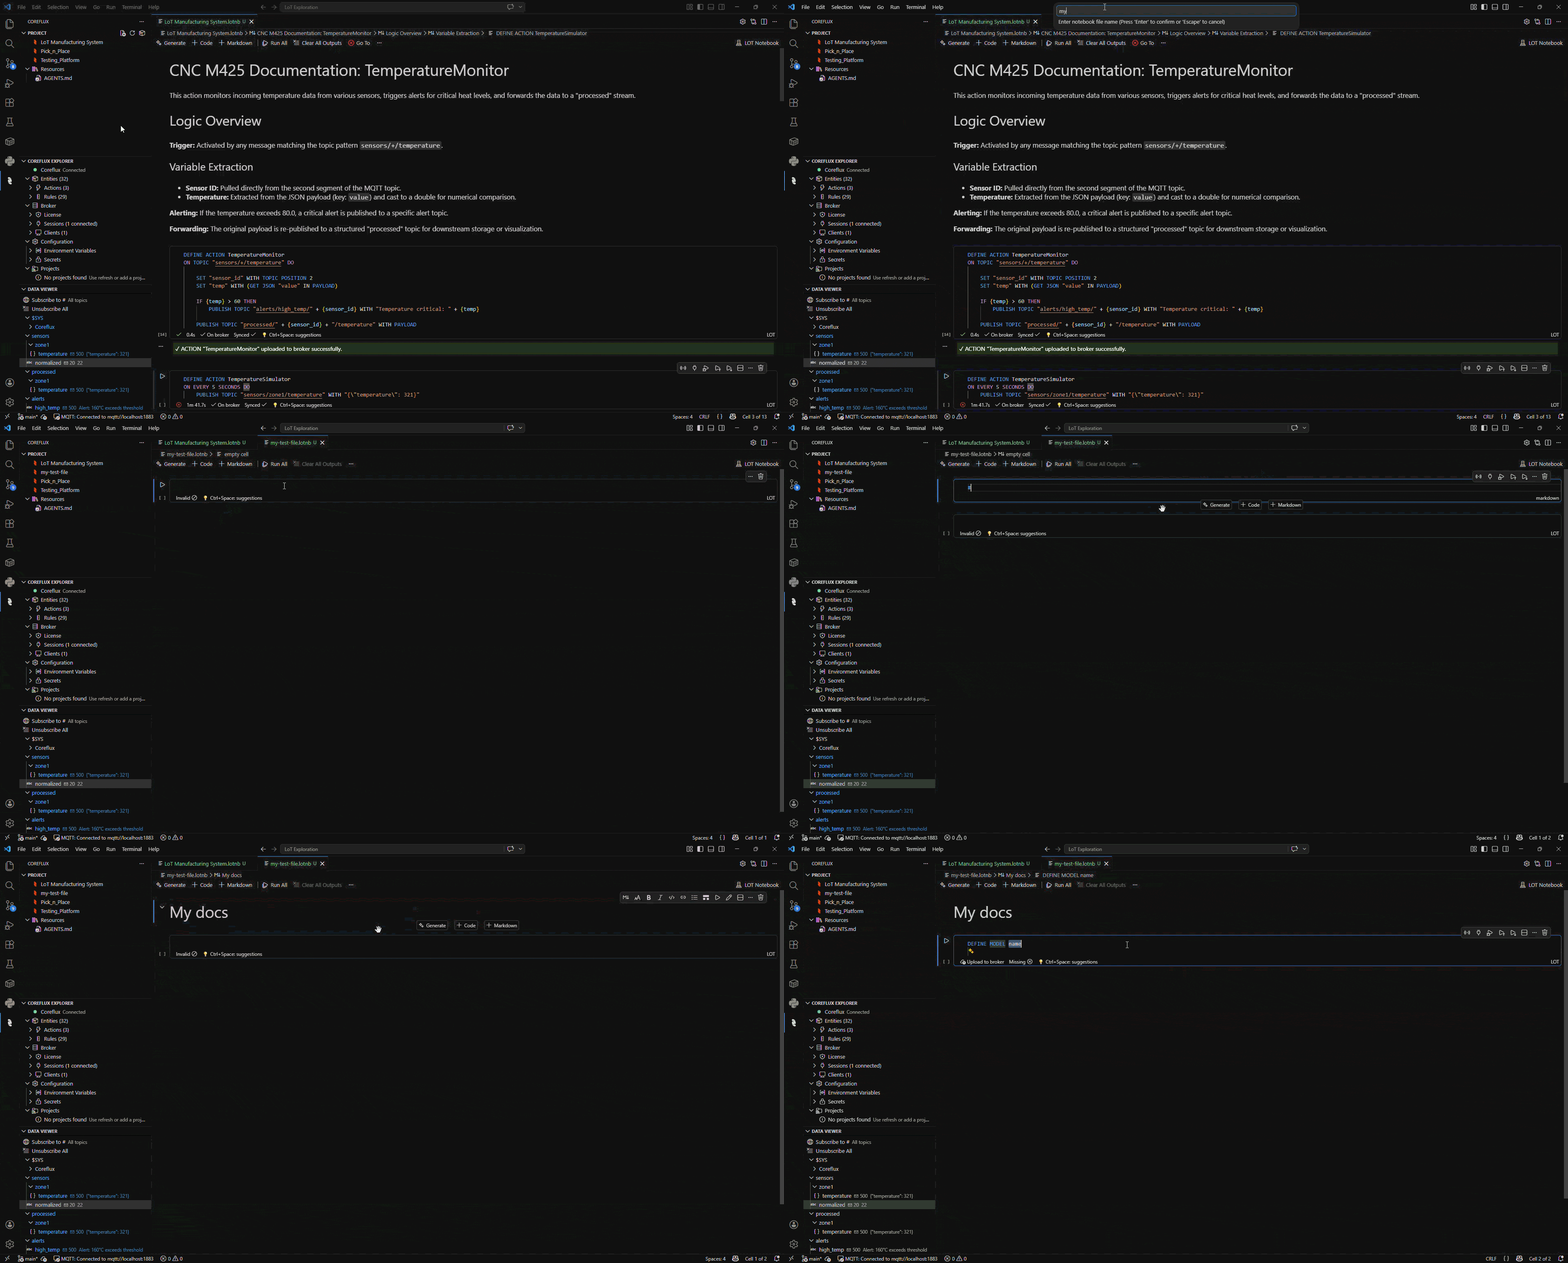
Creating a new LoT Notebook from the Coreflux PROJECT view
- In the Activity Bar, open the Coreflux view. Under PROJECT, use New File to create a notebook and save it in your workspace (use New Folder first if you want a dedicated project folder).
- In the notebook, add Markdown and LoT cells from the toolbar as needed.
Add LoT code to a LoT Notebook
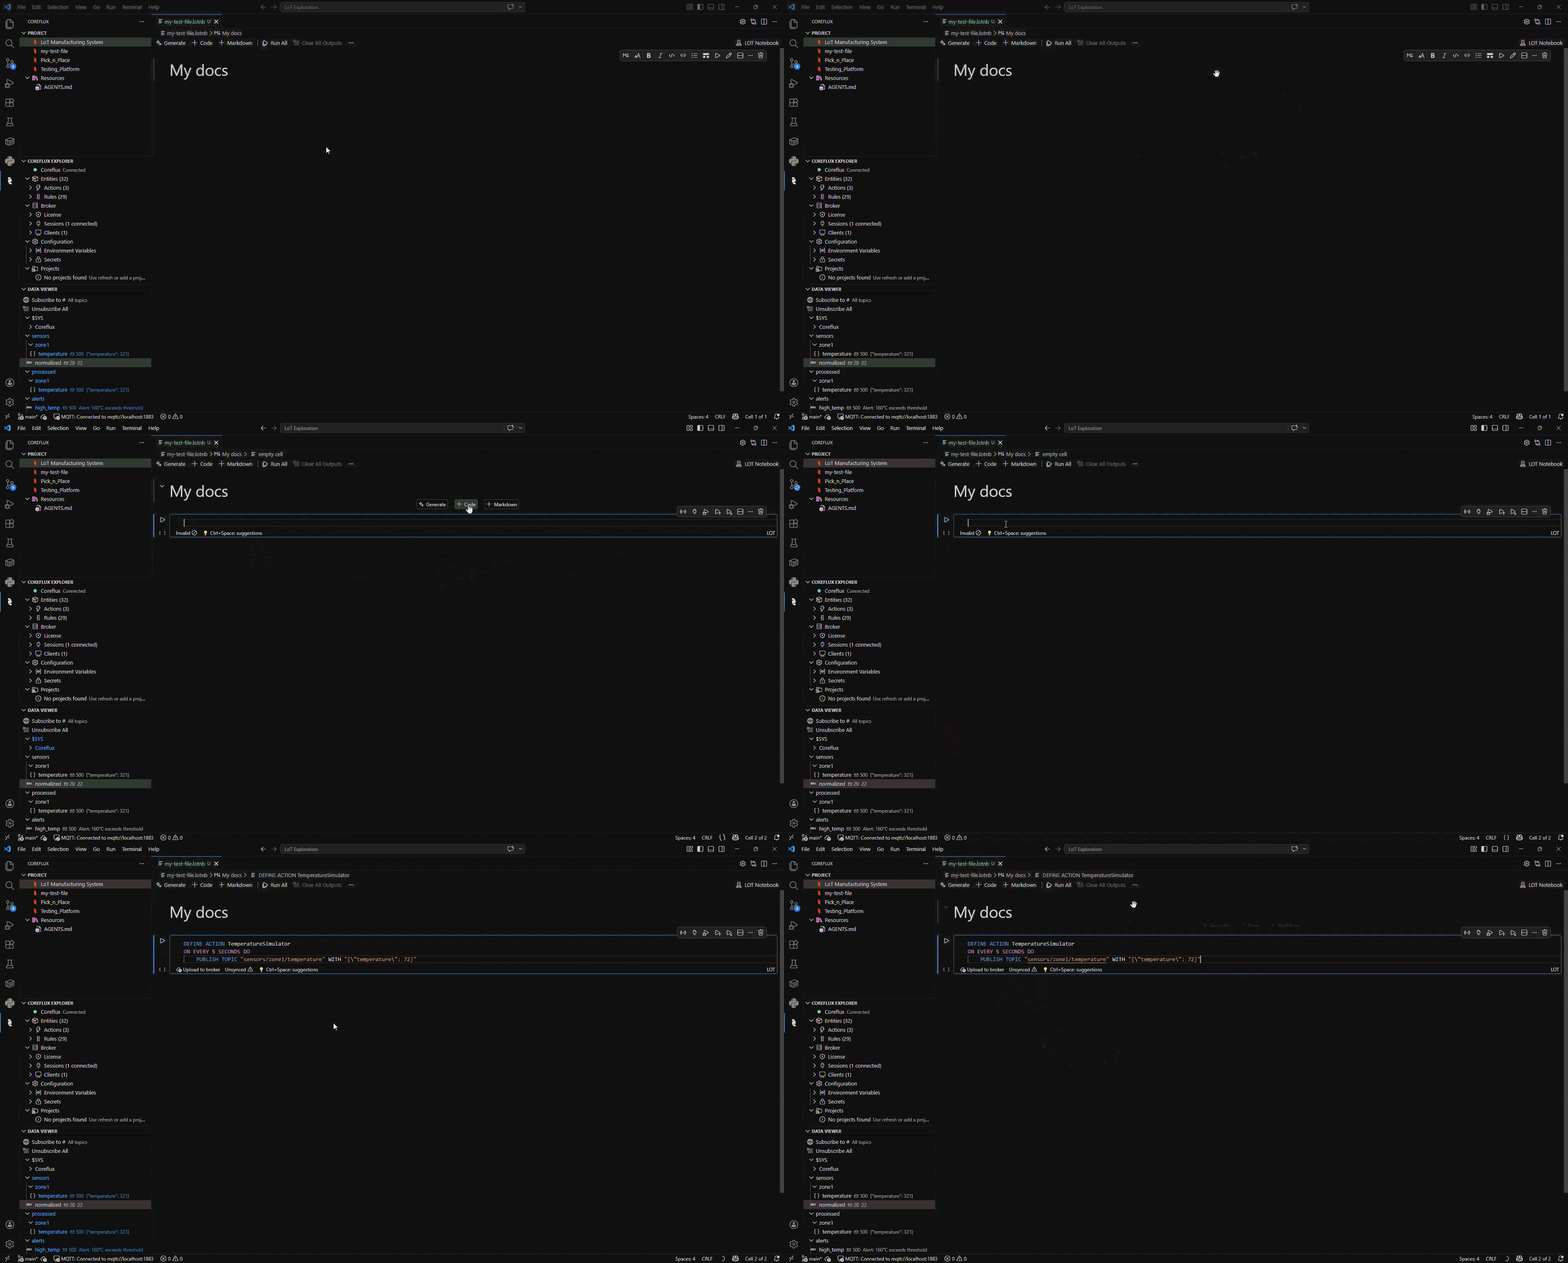
Insert a LoT code cell and add LoT in the notebook editor
- Open your LoT Notebook in VS Code.
- From the notebook toolbar, add a code cell.
- Type or paste your LoT code (
DEFINE ACTION,DEFINE MODEL, and so on). For a first example, use the code below.
What type of cells you can add to LoT Notebooks
LoT Notebooks support three types of cells, each with different behavior:Markdown Cells - Documentation
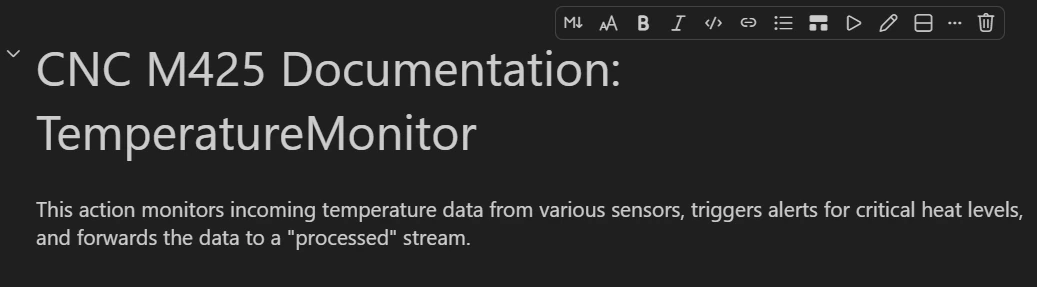
Markdown cell with rich text and the formatting toolbar
- Explain what your code does and why
- Document configuration requirements
- Add diagrams, tables, and formatted text
- Create section headers and navigation
LoT Code Cells - Runnable Logic

LoT code cell: syntax highlighting, sync status and upload to broker buttons
- The extension parses your code
- Sends it to the connected broker via MQTT
- The broker compiles and registers the definition
- You receive confirmation or error feedback
Python Cells - Advanced Logic
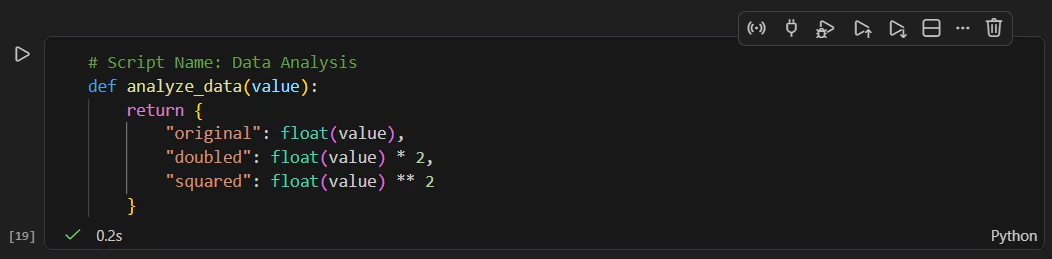
Python cell with syntax highlighting, sync status and upload to broker buttons
Running LoT
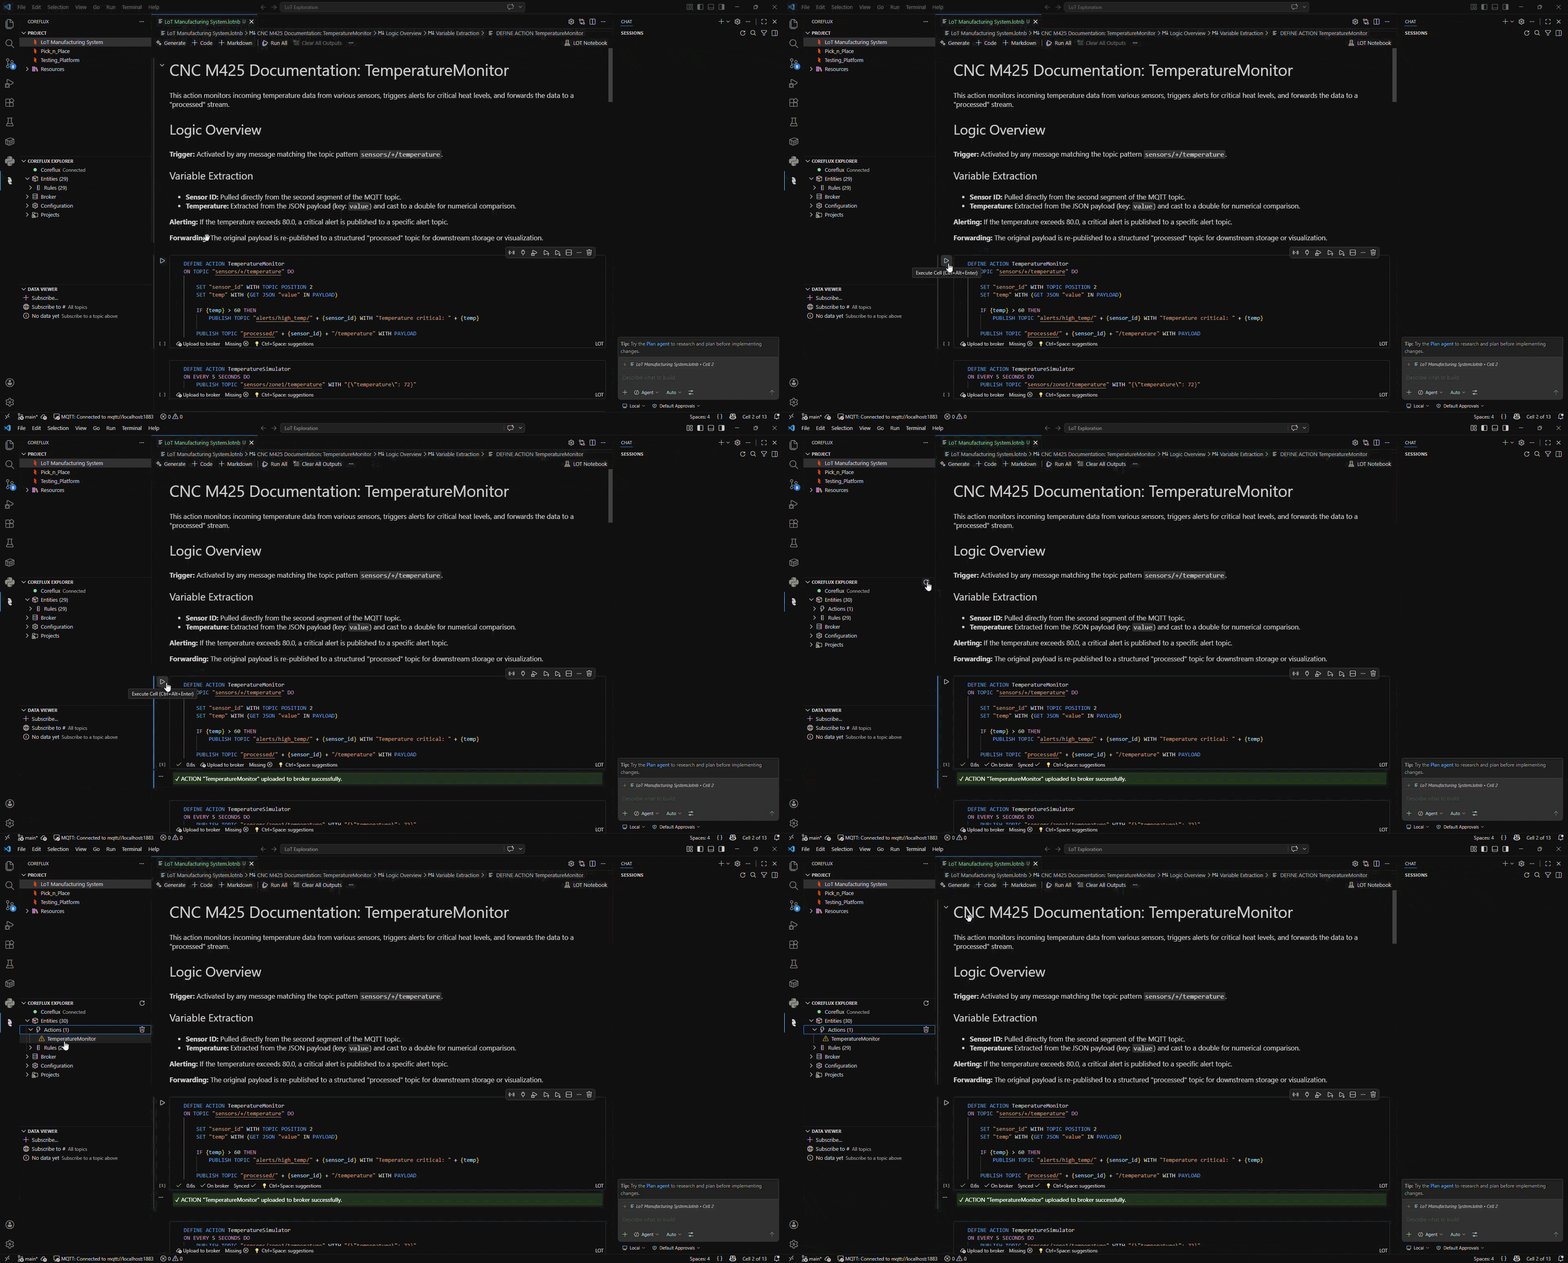
Deploying a LoT or Python code from the notebook to the broker
What else you can do with the LoT extension
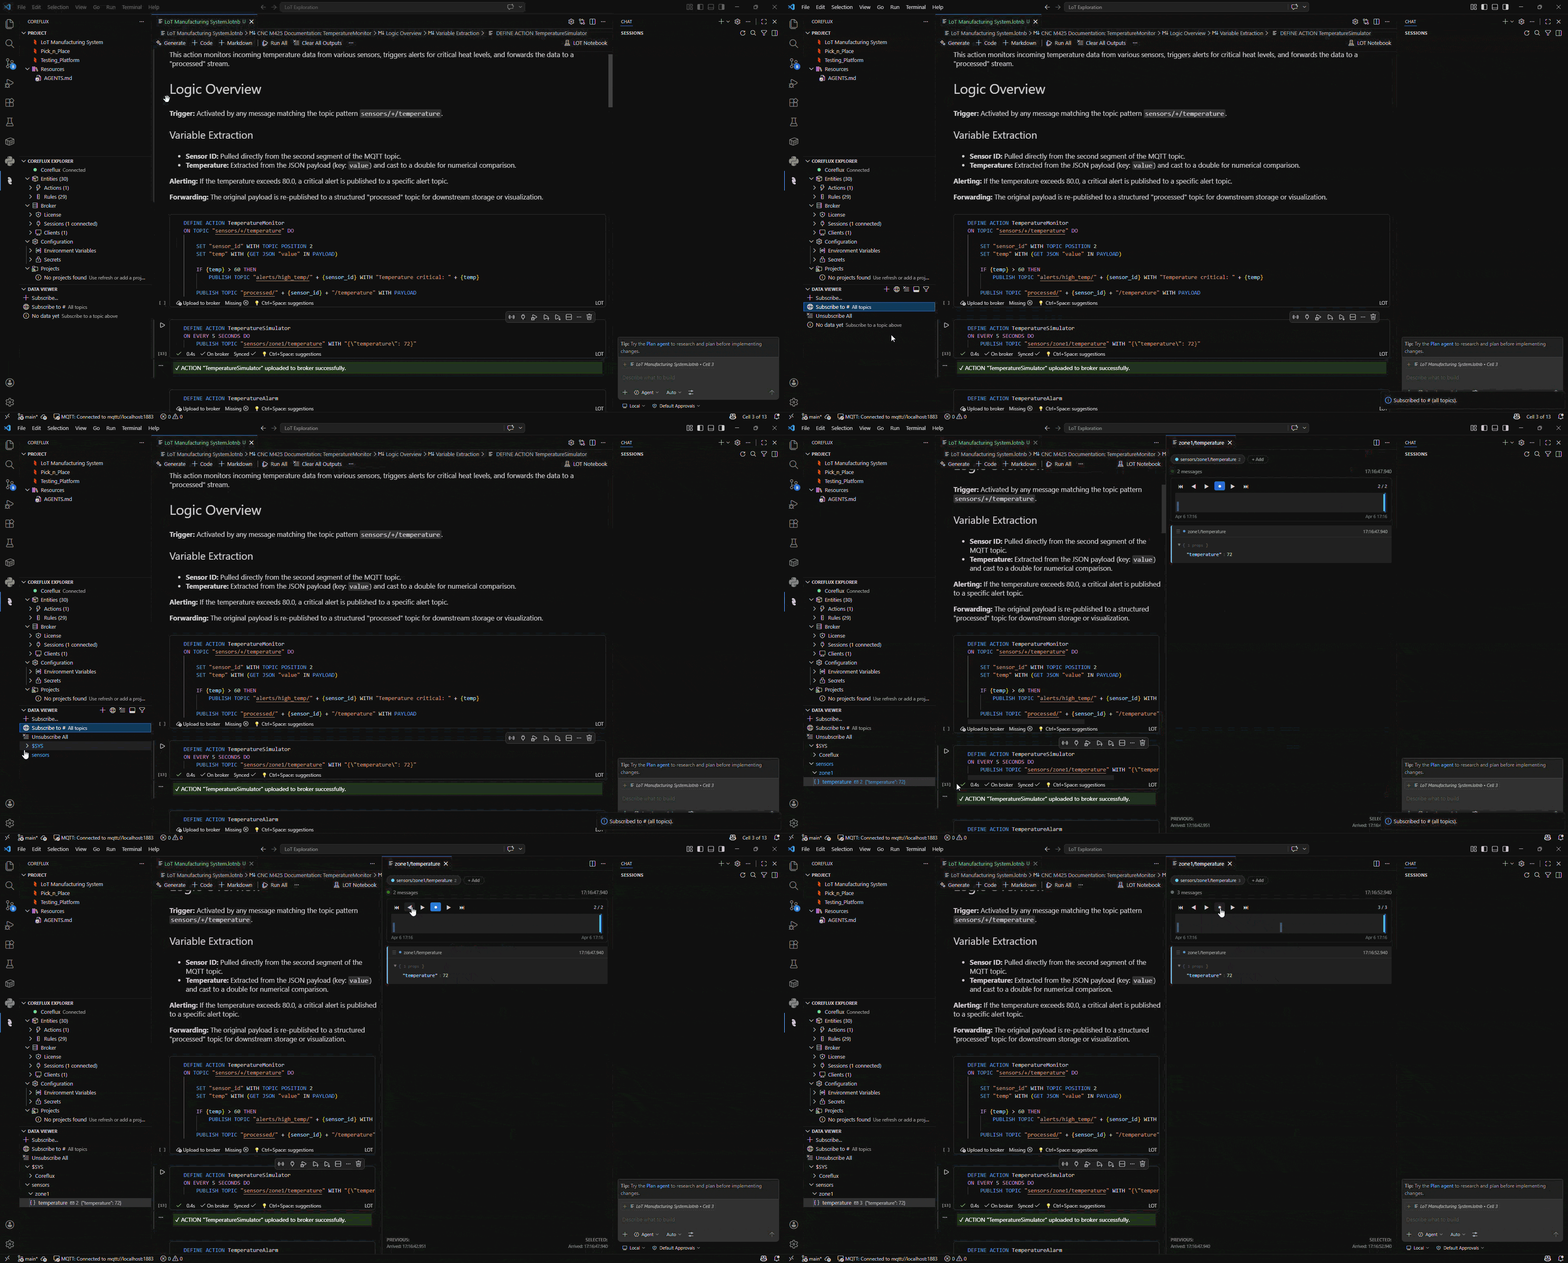
Data Viewer basics: subscribe to topics and watch live MQTT data
Develop LoT Notebooks with AI
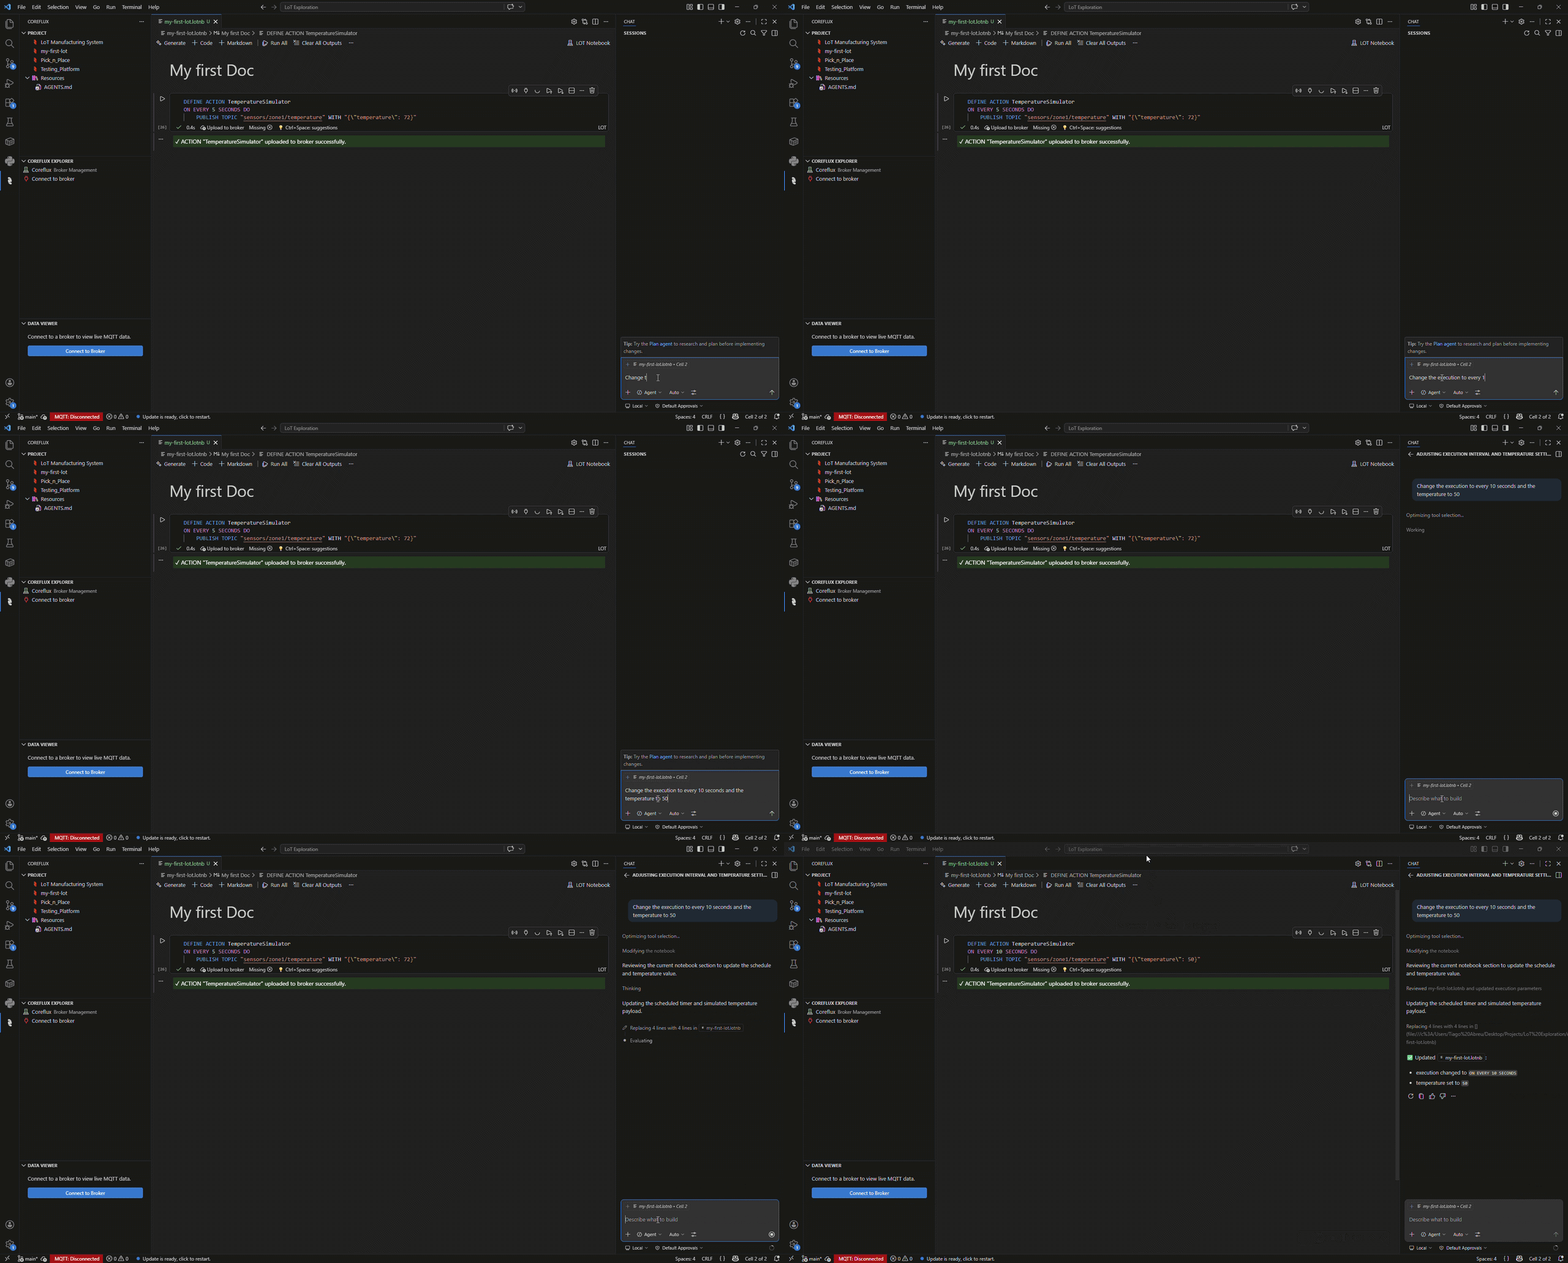
GitHub Copilot with a LoT Notebook: chat in context of the open notebook and cells
Version control with Git
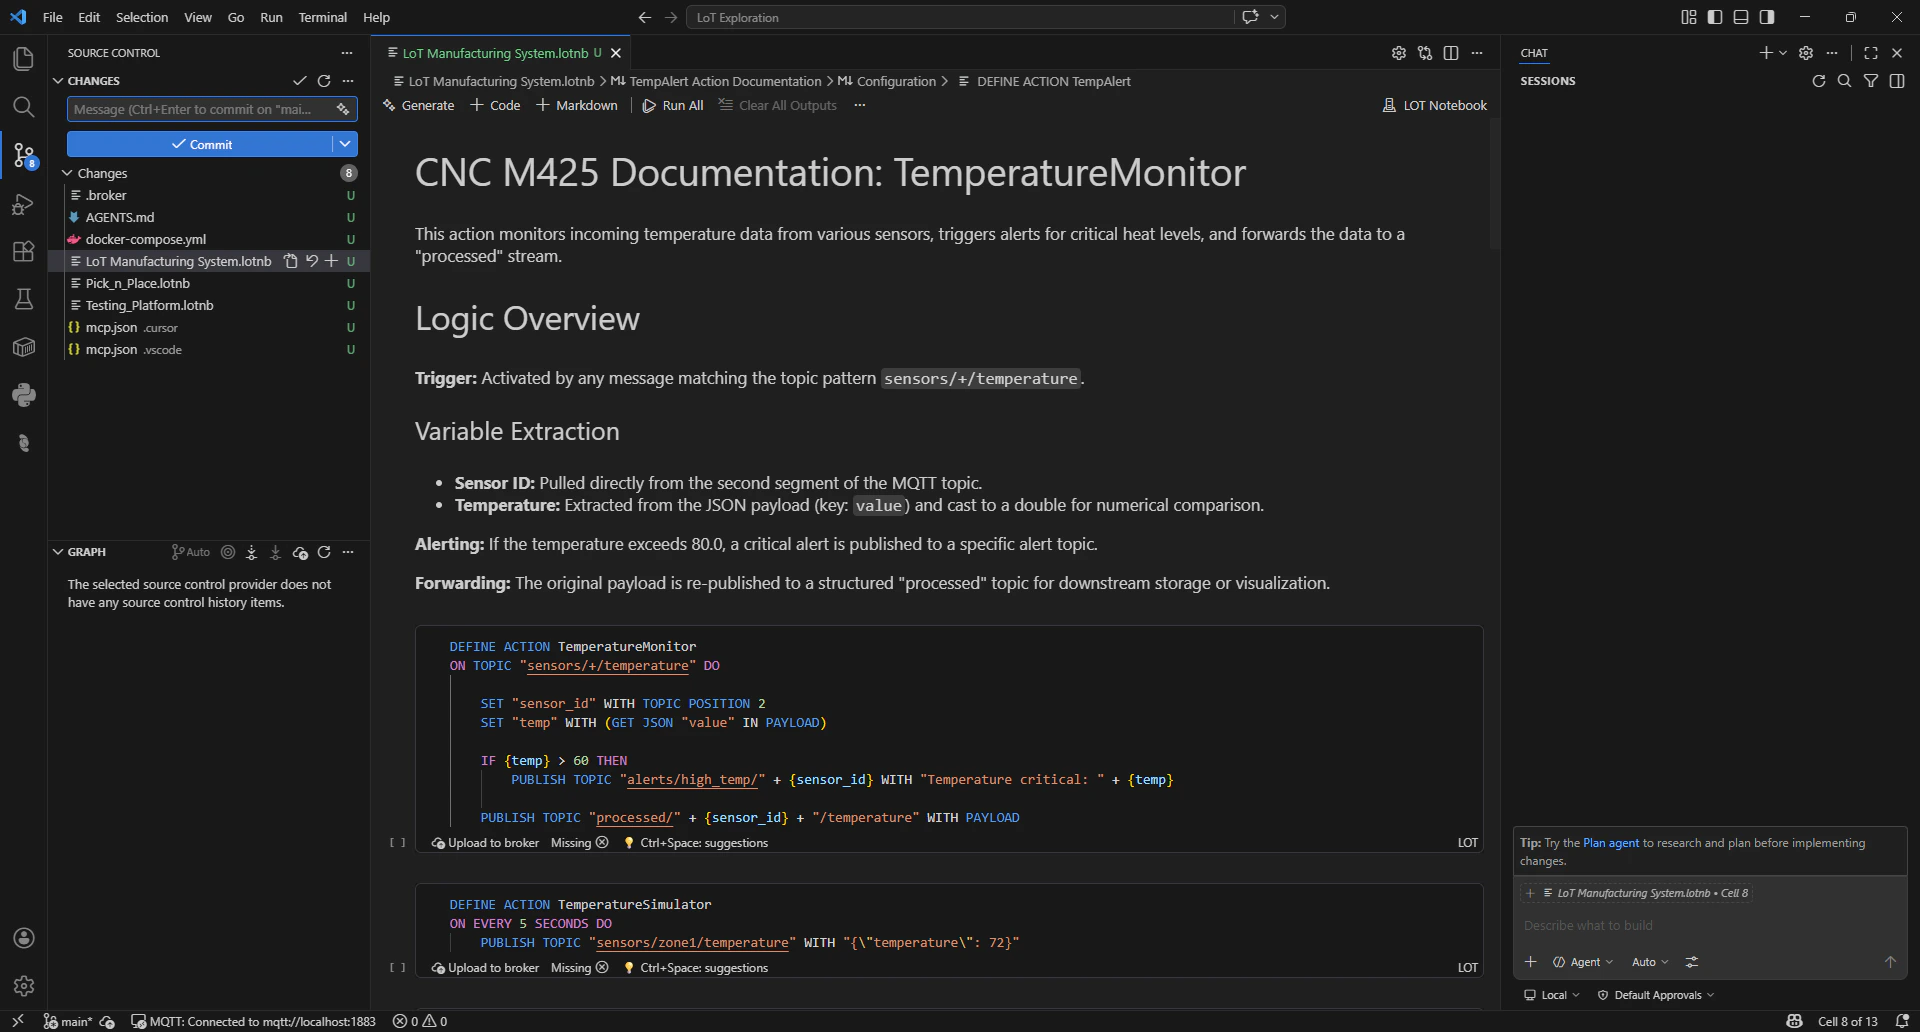
Source Control: Git tracks the whole workspace, not just LoT notebooks
.lotnb files aswell as any other files, like documentation, Docker files and supporting files.
Best Practices
Organize with Markdown
Organize with Markdown
One Definition Per Cell
One Definition Per Cell
Test Incrementally
Test Incrementally
Use Descriptive Names
Use Descriptive Names
Troubleshooting
Cell won't run?
Cell won't run?
- Check that you’re connected to the broker (look for connection status in status bar)
- Verify your credentials are correct
- Ensure the broker is running and accessible
LoT not deployed — license limits?
LoT not deployed — license limits?
Python script not recognized?
Python script not recognized?
- Confirm the first line is
# Script Name: YourScriptName - Check for syntax errors in the Python code
- Ensure function names match what you’re calling from LoT
Entity not appearing after deployment?
Entity not appearing after deployment?
- Check the output for error messages
- Verify no syntax errors in your LoT code
- Use the Coreflux Entities panel to refresh the list