Getting Started with Coreflux Cloud Broker using MQTT Explorer
Introduction
Welcome to Coreflux MQTT Cloud Broker! This document will guide you through the steps to connect to the broker using MQTT Explorer, an intuitive tool for interacting with your MQTT broker. You will also learn how to manage users by adding, removing, and changing passwords through MQTT commands.
Requirements
- MQTT Explorer installed on your computer.
- Credentials provided by Coreflux - email with username / password / broker address
Connecting to Coreflux Cloud Broker
- Launch MQTT Explorer and initiate a new connection:
- Click the
+icon to add a new connection. - Enter a connection name (e.g., "Coreflux Cloud Broker").
- Choose either
mqtts://for encrypted connection (port 8883) orws://for WebSockets (port 443). - Enter the broker address (
broker.example.com). - Input the port number (
8883formqtts://or443forws://). - Provide the username and password as sent in your Coreflux welcome email.
- Select
Advancedand enableTLSif connecting viamqtts://. -
Click
Save. -
Subscribe to the topics in order to control the broker:
- Navigate to the
Subscribetab within MQTT Explorer. - Enter
#to subscribe to all messages published to the broker. - Specifically, subscribe to
$SYS/Coreflux/Config/Usersto receive user configuration updates and$SYS/Coreflux/Command/#to monitor command topics. - ⚠ Word of Caution: Be careful about leaving your MQTT Explorer session open, as this user has the ability to control access within your broker.
- Navigate to the
-
Connect to the broker :
- Select your newly created connection profile.
- Click
Connectto establish a connection with the Coreflux Cloud Broker.
MQTT Explorer - Result of connection to Coreflux MQTT Cloud Broker
Managing Users
Adding a New User
- Navigate to the
Publishsection after connecting to the broker. - In the
Topicfield, enter$SYS/Coreflux/Cloud/Commandor$SYS/Coreflux/Command. - In the
Messagefield, enter the add user command:-addUser <username> <password>. - Example:
-addUser JohnDoe secure123. - Click
Publish.
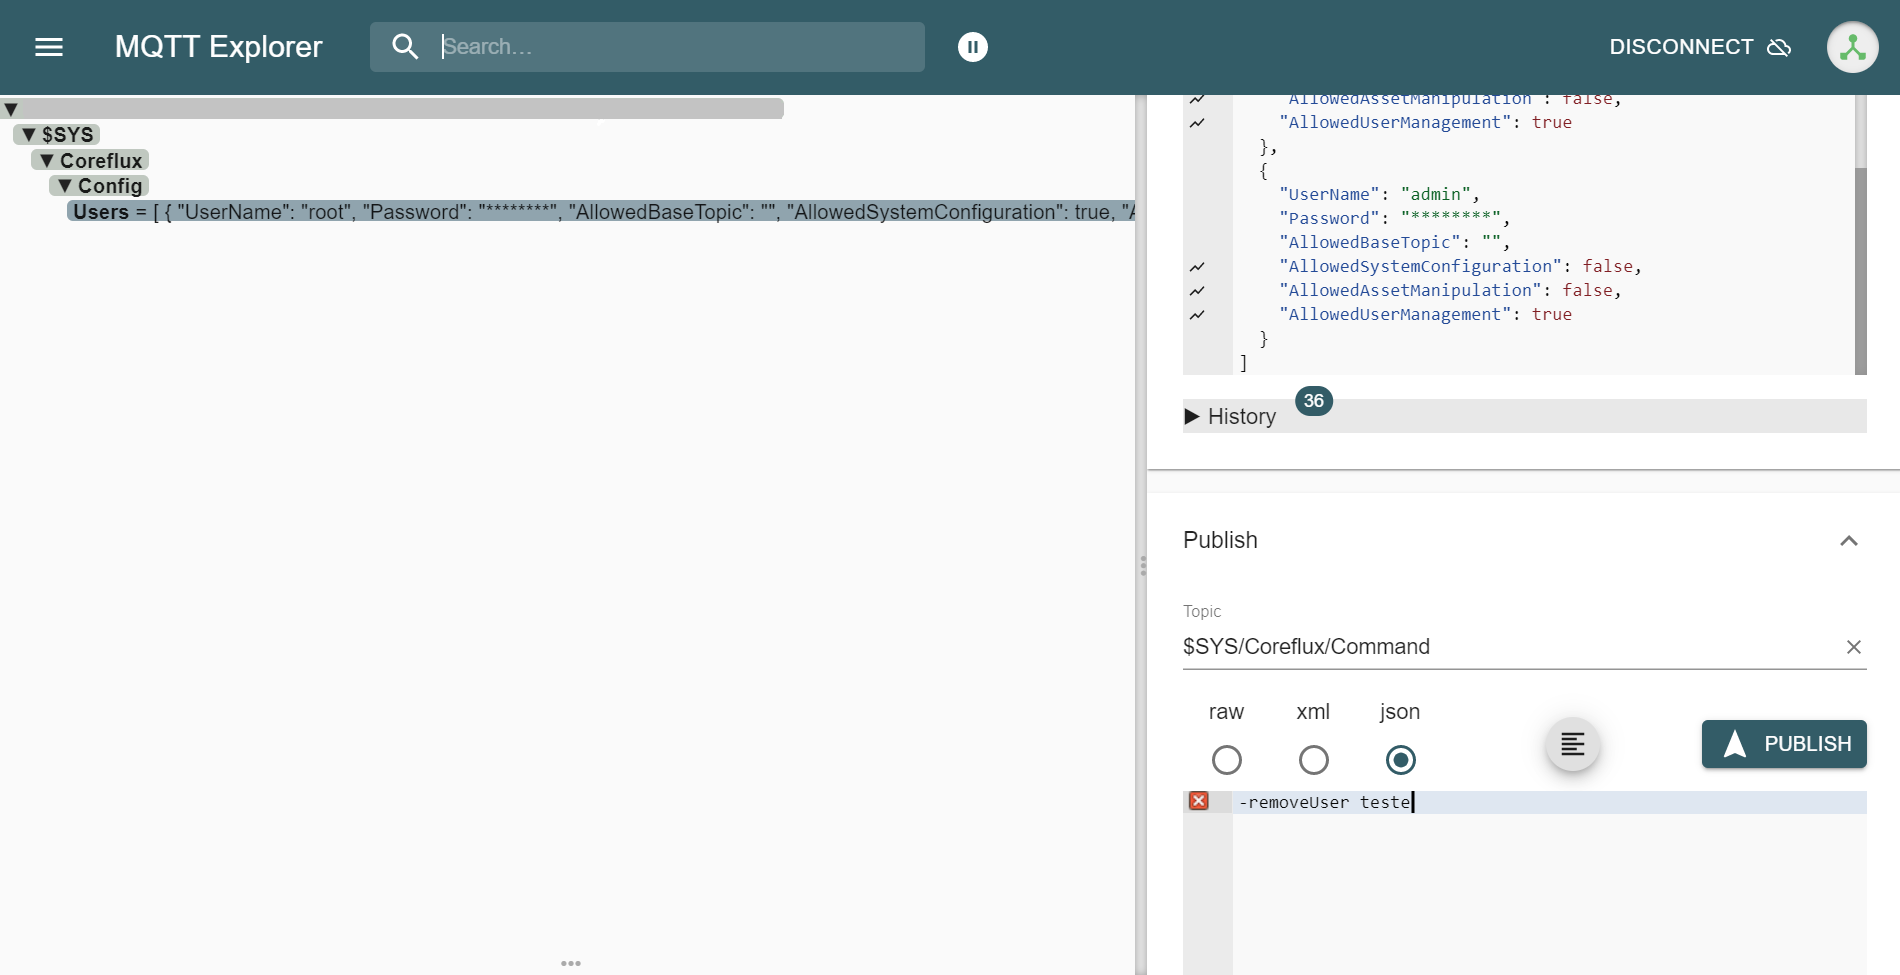
Removing a User
- In the
Publishsection, enter the same topic as above. - For the
Message, input the remove user command:-removeUser <username>. - Example:
-removeUser JohnDoe. - Click
Publish.
Changing a User's Password
- Again, in the
Publishsection, use the same topic. - In the
Messagefield, type the change password command:-changeUserPassword <username> <newPassword>. - Example:
-changeUserPassword JohnDoe newSecure123. - Click
Publish.
Wrap it up 🌯
You are now ready to manage your MQTT users through MQTT Explorer. Remember to always maintain secure password practices and manage user access carefully. For further information and support, consult the Coreflux documentation or contact customer support.