Interaction with Coreflux Hub
Interaction with Coreflux Hub simplifies the process of installing and operating a Coreflux MQTT broker by automating setup and execution, making it more straightforward and efficient.
Steps to install a Coreflux MQTT broker
To proceed with the installation of your new central:
-
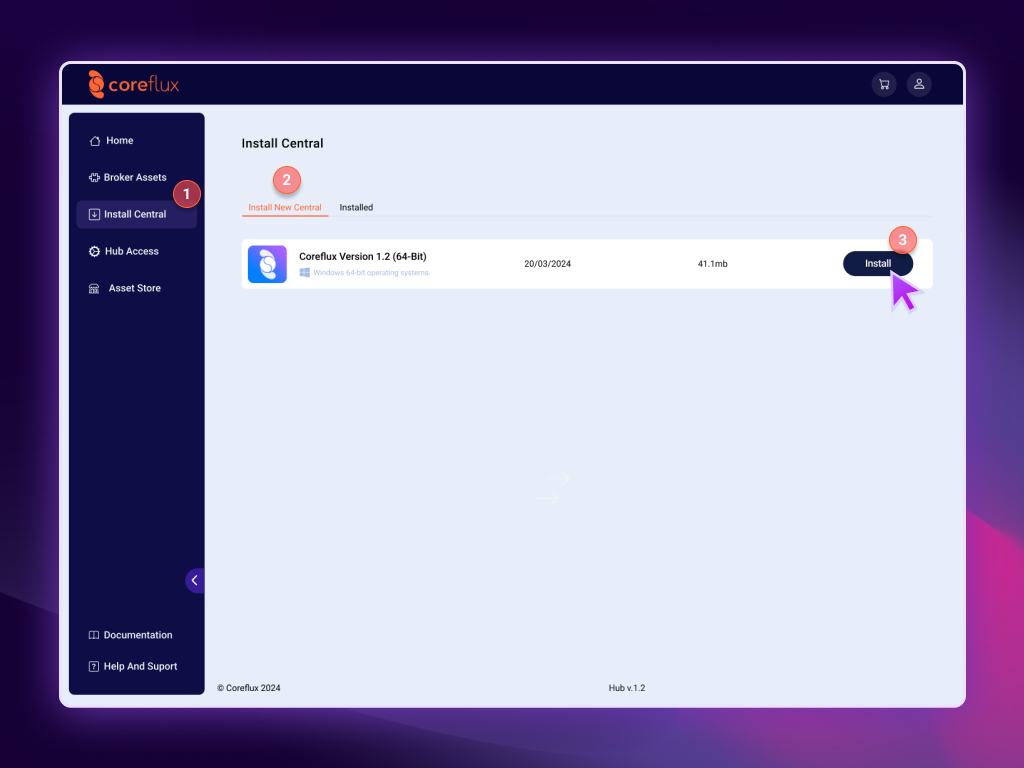
Navigate to the "Install Central" menu.
-
Choose "Install a New Central."
-
Click on "Install" to begin the installation process.
-
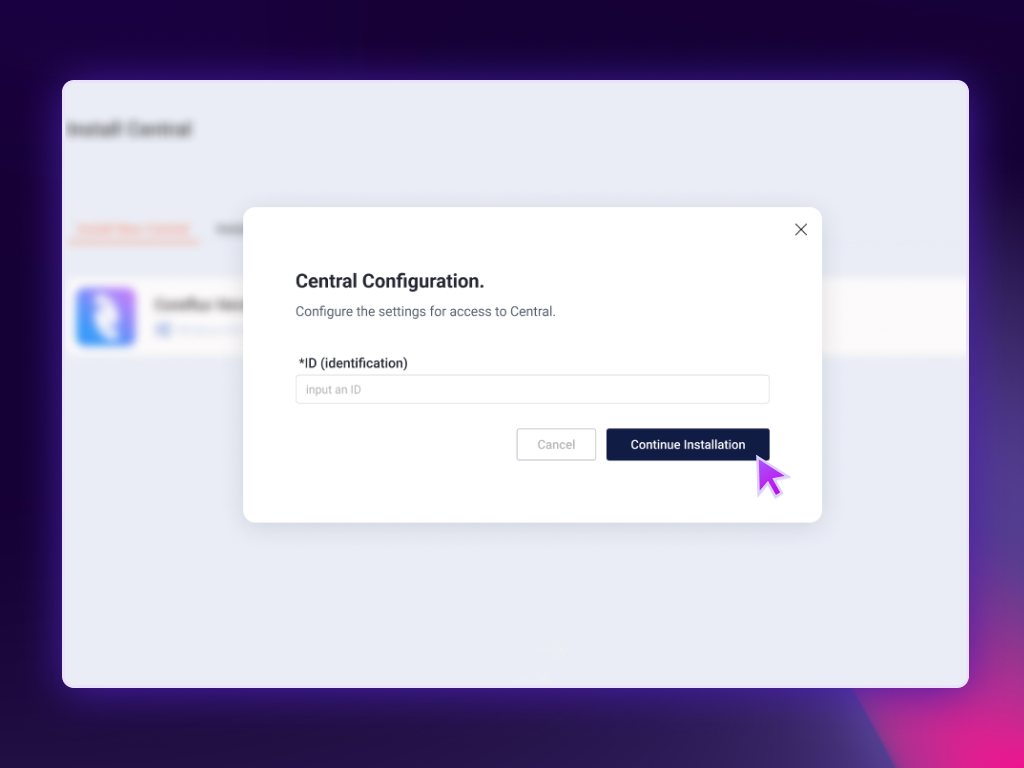
Next step is to write an ID name for the broker; the ID is the name it will be given to the broker's system service.
-
Click Continue Installation , the hub will automatically download and install a new Coreflux broker for you.
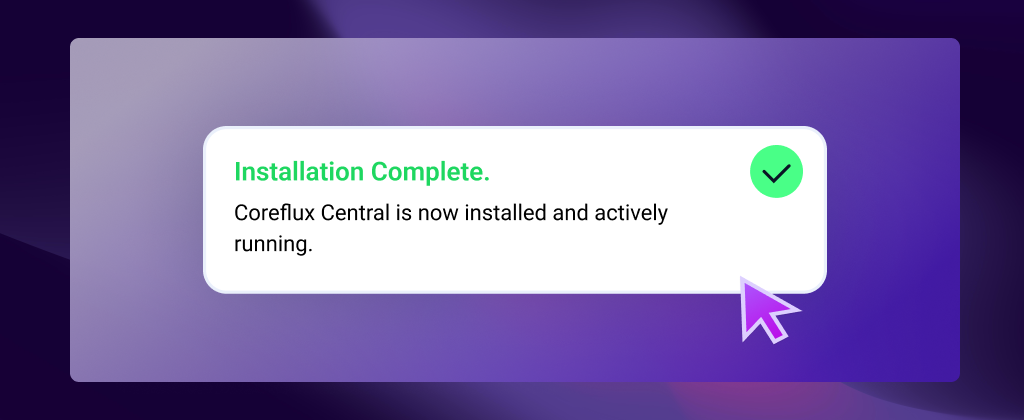
After the process is finished, you will see this message:
Here you can see an intuitive video instruction for the installation process:
What Happens Behind the Scenes?
When you install the Coreflux MQTT broker, it is downloaded to specific folders on your system, as follows:
- For Windows: The broker is saved to
C:\Users\<UserName>\AppData\Roaming\corefluxhub\<BrokerID>\CorefluxCentral.exe. - For Linux: The broker is located at
/home/<Username>/.config/corefluxhub/<BrokerID>/CorefluxCentral.
Additionally, the hub initiates a system service using the provided ID as the service name for easy identification. To distinguish it, the prefix "CorefluxHub_" is added to the beginning of the service's name. Here are examples of how the service name appears on different systems:
- On Windows: The service is named
CorefluxHub_BrokerIdentification. - On Linux: The service appears as
CorefluxHub_BrokerIdentification.service.
Logging in to your Coreflux MQTT Broker
Once the broker installation is complete, you're ready to log in and begin managing it. For the initial login, Coreflux provides default credentials:
- Username: root
- Password: coreflux
Use these credentials to access your broker for the first time. It's highly recommended to change the default password after your first login to ensure your broker's security.
Steps to Log In:
- Begin by clicking on menu Hub Access to navigate to the login form page.
-
You will see 5 fields in this page, which are:
- Name: This is the name you wish to assign to the connection. If left blank, a name will be auto-generated.
- IP Address: Enter the IP address of your Coreflux MQTT Broker here.
- Port: Specify the port your Coreflux MQTT Broker is using.
- TLS Connection: If you prefer to establish a connection using TLS for added security, check this option. Otherwise, you can leave it unchecked.
- Username: Input the username for the broker account you wish to access.
- Password: The password of the broker's user.

Ensure all details are entered correctly before clicking the Access button. If the login credentials are accurate, you will be redirected to the Broker Assets page.