LOT Notebooks for VS Code
Overview
LOT Notebooks provide an interactive, Jupyter-like development experience for the Language of Things (LOT) in Visual Studio Code. Using .lotnb files, you can create complete "System as Code" documents that combine both documentation and executable code in a single file.
Coreflux offers two complementary VS Code extensions:
- LOT Notebooks Extension: For creating and working with
.lotnbnotebook files - LOT Language Support: For syntax highlighting and working with individual
.lotscript files
This documentation focuses primarily on the notebook experience, which is the recommended approach for creating complete IoT orchestrations with Coreflux.
What are LOT Notebooks?
LOT Notebooks (.lotnb files) are interactive documents that contain:
- Markdown cells: For documentation, explanations, diagrams, and context
- LOT code cells: For executable LOT definitions (Models, Rules, Actions, Routes)
Similar to Jupyter notebooks, LOT Notebooks allow you to: - Write and execute code in individual cells - See results immediately in the output area - Include rich documentation with your code - Share complete, self-documenting solutions
This "System as Code" approach combines the best of both worlds: - Documentation: Clear explanations of your system architecture and logic - Implementation: Actual code that deploys to your MQTT broker - Visualization: Charts and diagrams that illustrate your system
Installation
To get started with LOT Notebooks:
1. Install the Extensions
- Open Visual Studio Code
- Go to the Extensions view (Ctrl+Shift+X or Cmd+Shift+X)
- Search for and install both extensions:
- LOT Notebooks by Coreflux
- LOT Language Support by Coreflux
2. Configure Your MQTT Broker
Before creating your first notebook, you'll need to configure your connection to the Coreflux MQTT broker:
- Open the Command Palette (Ctrl+Shift+P or Cmd+Shift+P)
- Type "LOT Notebook: Change Credentials" and select it
- Enter your broker details:
- URL (e.g., mqtt://localhost:1883)
- Username (default is "root")
- Password
Using LOT Notebooks
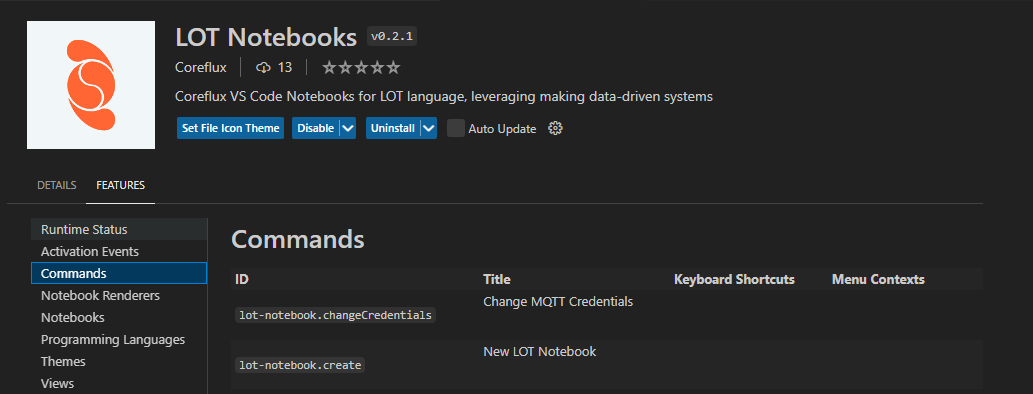
Available Commands
The LOT Notebooks extension provides several commands to help you work with your notebooks and interact with the MQTT broker. Access these commands through the VS Code Command Palette (Ctrl+Shift+P or Cmd+Shift+P).
Uploading Models and Actions to the Broker
After writing your models or actions in LOT, you can easily upload them to the MQTT broker directly from the notebook:
- Create a code cell with your LOT definition (MODEL, ACTION, RULE, etc.)
- Execute the cell
- The extension will automatically upload your definition to the connected broker
The LOT Notebooks Documentation
For detailed information, see the following sections: